Butter Pie Crust Recipe
Introduction
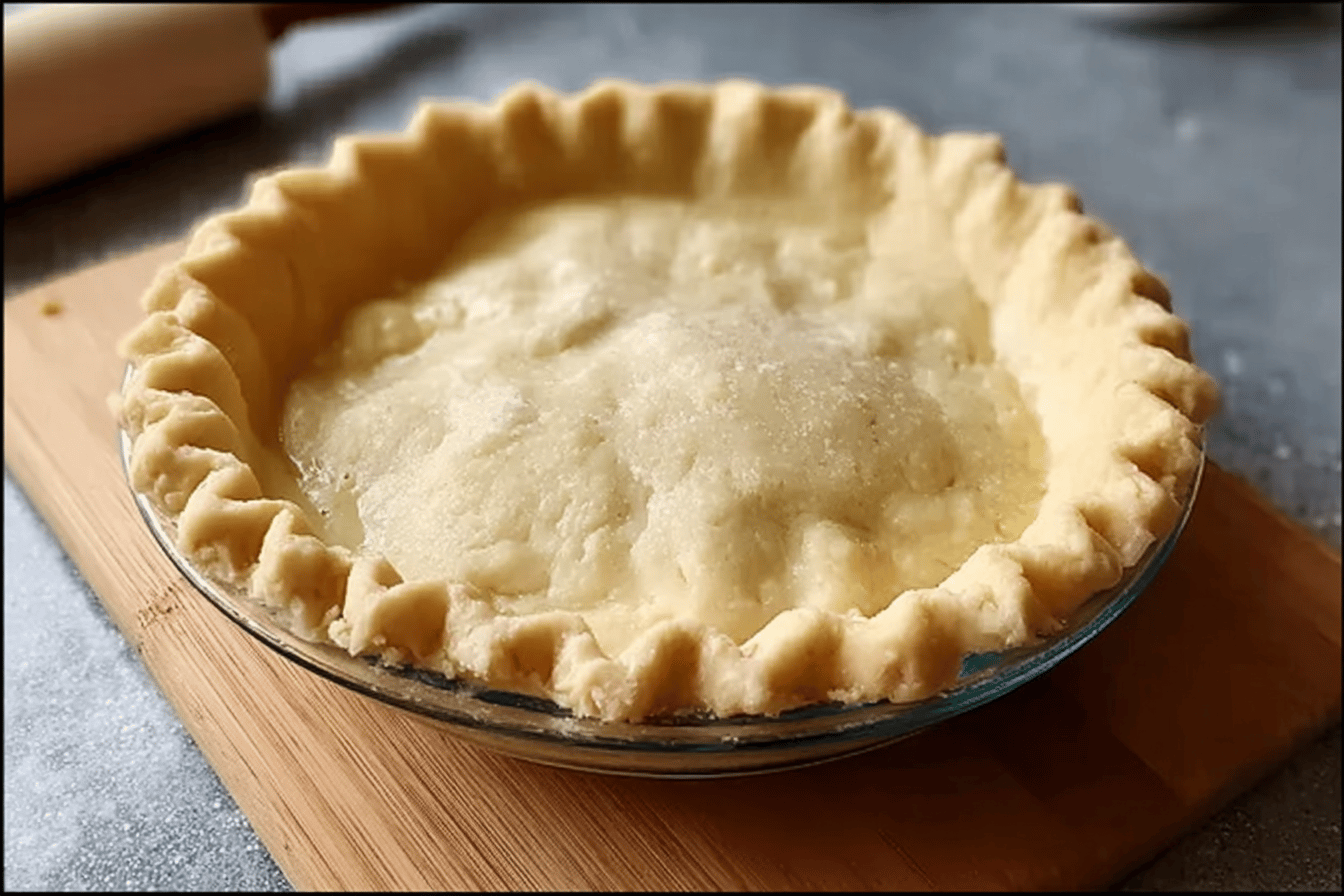
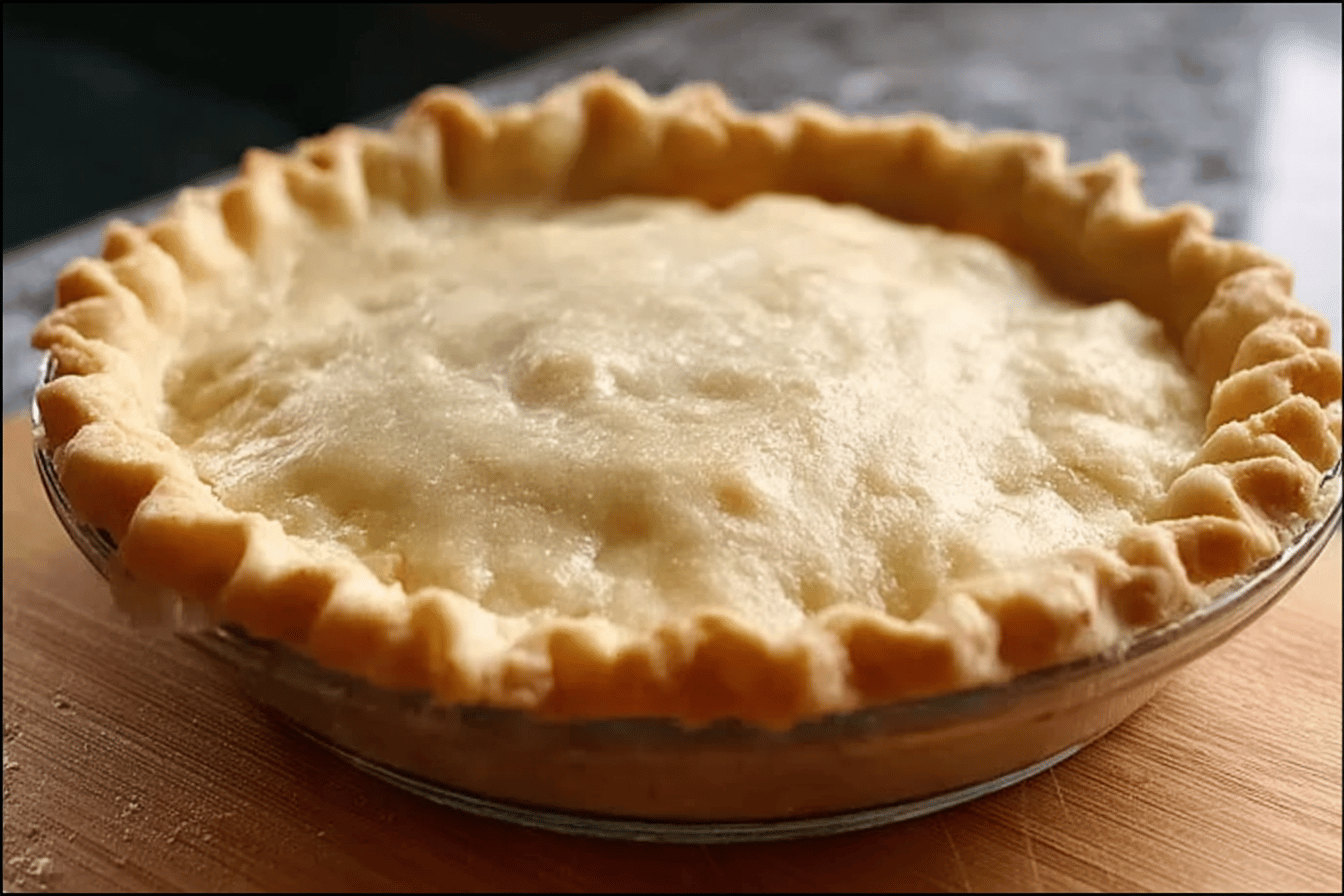
Butter Pie Crust Recipe
A perfect butter pie crust is the foundation for countless delicious recipes, from rich pies to savory tarts. The buttery, flaky layers create a unique texture that complements every filling you can imagine. This recipe will guide you through the simple steps to achieve a homemade, golden-brown crust that will win everyone over at the dinner table. Whether you’re a seasoned baker or someone new, this recipe is the ideal place to start.
Detailed Ingredients with Measures
Simple Ingredients for Perfection
Here’s everything you’ll need to prepare this buttery goodness:
– All-purpose flour – 2 1/2 cups
– Unsalted butter – 1 cup (cold and cut into cubes)
– Sugar – 1 tablespoon
– Salt – 1 teaspoon
– Ice water – 6 to 8 tablespoons (add gradually)
Each ingredient plays a crucial role in creating the perfect crust, so make sure to use fresh and high-quality ingredients.
Prep Time
Getting the Dough Ready
The preparation time for this butter pie crust is approximately 15 minutes. Remember, the key to a successful crust is handling the dough gently and quickly to maintain its flaky texture.
Cook Time, Total Time, Yield
Perfect Timing for the Best Crust
Cook time for the butter pie crust is about 20-25 minutes, depending on your oven. The total time required, including prep, amounts to about 40 minutes. This recipe yields enough for one 9-inch double crust or two single crusts, making it perfect for various baking needs.
This homemade butter pie crust is versatile, delicious, and easy to customize with your choice of fillings. Prepare once, and you’ll never want store-bought crusts again!
“`html
Detailed Directions and Instructions
Step 1: Chill the Ingredients
1. Begin by ensuring all your ingredients are cold. Place the butter in the refrigerator until it’s firm, and chill the water with ice.
Step 2: Combine Dry Ingredients
2. In a large bowl, mix the all-purpose flour and salt together until evenly distributed.
Step 3: Cut the Butter into the Flour
3. Remove the butter from the refrigerator and cut it into small cubes.
4. Add the cold butter cubes to the flour and use a pastry cutter or your fingers to blend the butter into the flour until the mixture resembles coarse crumbs.
Step 4: Add Ice-Cold Water
5. Gradually add ice-cold water, one tablespoon at a time, while gently mixing the dough with a fork or your hands.
6. Continue adding water until the dough just starts to come together. Avoid overmixing to achieve a flaky texture.
Step 5: Form the Dough
7. Gather the dough into a ball and divide it in half. Flatten each half into a disc shape.
8. Wrap each disc with plastic wrap and refrigerate for at least 1 hour. This allows the gluten to relax and the butter to firm up again.
Step 6: Roll Out the Dough
9. Lightly flour your work surface and rolling pin. Take one of the chilled dough discs from the refrigerator.
10. Roll out the dough into a circle about 1/8-inch thick, rotating as you roll to ensure an even thickness.
Step 7: Fit the Dough to the Pie Pan
11. Carefully transfer the rolled-out dough to the pie pan by draping it over the rolling pin or folding it gently into quarters.
12. Unfold or unroll the dough and press it lightly into the edges of the pan. Trim any excess dough hanging off the sides.
Step 8: Prepare for Filling or Baking
13. If the recipe calls for a prebaked crust, prick the base of the dough with a fork and place pie weights or dried beans on parchment paper on top of the dough before baking.
14. Bake according to your specific recipe’s instructions, or fill the unbaked crust with your desired filling.
Notes
Using a Food Processor
1. If using a food processor, pulse the flour and salt first. Then, add the butter cubes and pulse until the mixture resembles coarse crumbs. Gradually add ice water while pulsing until the dough just comes together.
Keep Everything Cold
2. To achieve a flaky crust, always keep the butter and water as cold as possible. You can even chill your mixing bowl for better results.
Freezing the Dough
3. The dough can be stored in the freezer for up to 3 months. Wrap it tightly in plastic wrap and place it in a freezer-safe bag before freezing. Thaw in the refrigerator before use.
Preventing Shrinkage
4. To prevent the dough from shrinking during baking, ensure it rests in the refrigerator after shaping it in the pan.
Flouring the Surface
5. Use just enough flour on your work surface to prevent sticking when rolling out the dough. Too much flour can make the crust tough.
Rolling Technique
6. Roll the dough outward from the center, applying even pressure. Avoid overworking the dough to maintain its flaky texture.
“`
Cook Techniques
Chill Your Ingredients
Start by ensuring that your butter and water are thoroughly chilled. Cold ingredients help create the flakiest layers in your pie crust.
Use a Food Processor
Using a food processor is an efficient way to quickly cut the butter into the flour, resulting in an even and fine texture.
Hydrate Gradually
Add the ice water one tablespoon at a time while mixing to prevent over-hydration, which can make the dough sticky and hard to roll out.
Avoid Overmixing
Handle the dough as minimally as possible once the ingredients are combined to maintain a tender and flaky texture.
Refrigerate the Dough
Once the dough has formed, let it rest in the refrigerator for at least an hour. This step is essential for relaxing the gluten and keeping the crust tender.
Roll Gently and Consistently
Roll out the dough gently, keeping the pressure even to avoid overworking it. Use a light dusting of flour to prevent sticking.
Trim Excess Dough
After transferring the dough to your pie pan, trim any overhanging edges to ensure even cooking and a neat appearance.
Use Pie Weights for Blind Baking
When pre-baking the crust, add pie weights or dried beans to prevent the dough from puffing up and to maintain an even shape.
Cool Before Adding the Filling
Allow the crust to cool completely after baking if you plan to use a filling that doesn’t require further baking.
Protect the Edges
Use a pie shield or aluminum foil to cover the edges of the crust during baking to prevent them from overbrowning.
FAQ
Why is my pie crust not flaky?
Your pie crust may not be flaky if the butter was too warm or if the dough was overmixed, causing the ingredients to combine too thoroughly.
Can I use salted butter instead of unsalted?
Yes, salted butter can be used, but you may need to reduce the additional salt in the recipe to balance the flavor.
What should I do if the dough cracks when rolling?
If the dough cracks, let it sit at room temperature for a few minutes to soften slightly, then press the cracks together gently.
How can I prevent the crust from shrinking?
To prevent shrinking, chill the dough thoroughly before baking and avoid stretching the dough when transferring it to the pan.
Can I freeze pie dough for later use?
Yes, you can freeze pie dough tightly wrapped in plastic for up to 3 months. Thaw it overnight in the refrigerator before using.
What are pie weights, and can I make them at home?
Pie weights are small ceramic or metal balls used to weigh down a pie crust during blind baking. Dried beans or uncooked rice can be used as homemade alternatives.
Is it necessary to blind bake the crust?
Blind baking is necessary if you are filling the pie with a no-bake filling or if the filling cooks faster than the crust.
Can I make the dough in advance?
Yes, pie dough can be prepared up to 2 days in advance and stored in the refrigerator, or frozen for longer storage.
What’s the best way to transfer the dough to the pan?
Roll the dough onto a rolling pin, then unroll it over the pie pan carefully to avoid tearing.
How do I fix a tough pie crust?
A tough crust is usually caused by overmixing or adding too much flour. Unfortunately, it can’t be fixed once baked, but minimizing handling and using cold ingredients in the future can prevent it.
“`html
Conclusion
This homemade butter pie crust is a versatile and easy-to-master recipe that brings a rich, flaky texture to any pie. By following these simple steps, you can create a delicious and impressive foundation for your sweet or savory fillings. With fresh ingredients and a bit of care, this recipe guarantees satisfying results every time, making it a staple for all your baking endeavors.
More recipes suggestions and combination
Classic Apple Pie
Use this butter pie crust to make a traditional apple pie filled with cinnamon-spiced apples for a comforting dessert.
Chicken Pot Pie
Create a hearty chicken pot pie by pairing the crust with a creamy and savory filling of chicken and vegetables.
Chocolate Cream Pie
Combine the butter pie crust with a rich chocolate filling for a luscious and indulgent treat.
Quiche Lorraine
Turn the crust into a base for a classic quiche Lorraine, featuring eggs, cream, bacon, and cheese.
Pecan Pie
Explore a Southern classic by baking a sweet and crunchy pecan pie using this versatile pie crust.
“`