How to Make the Perfect Gooey-Brownie-Pie Recipe
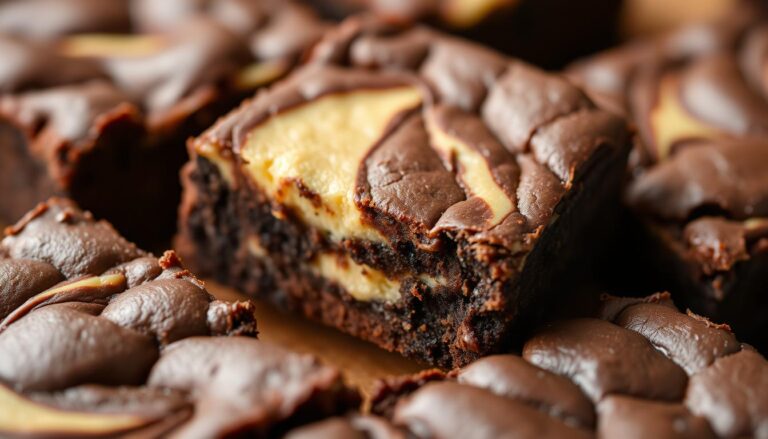
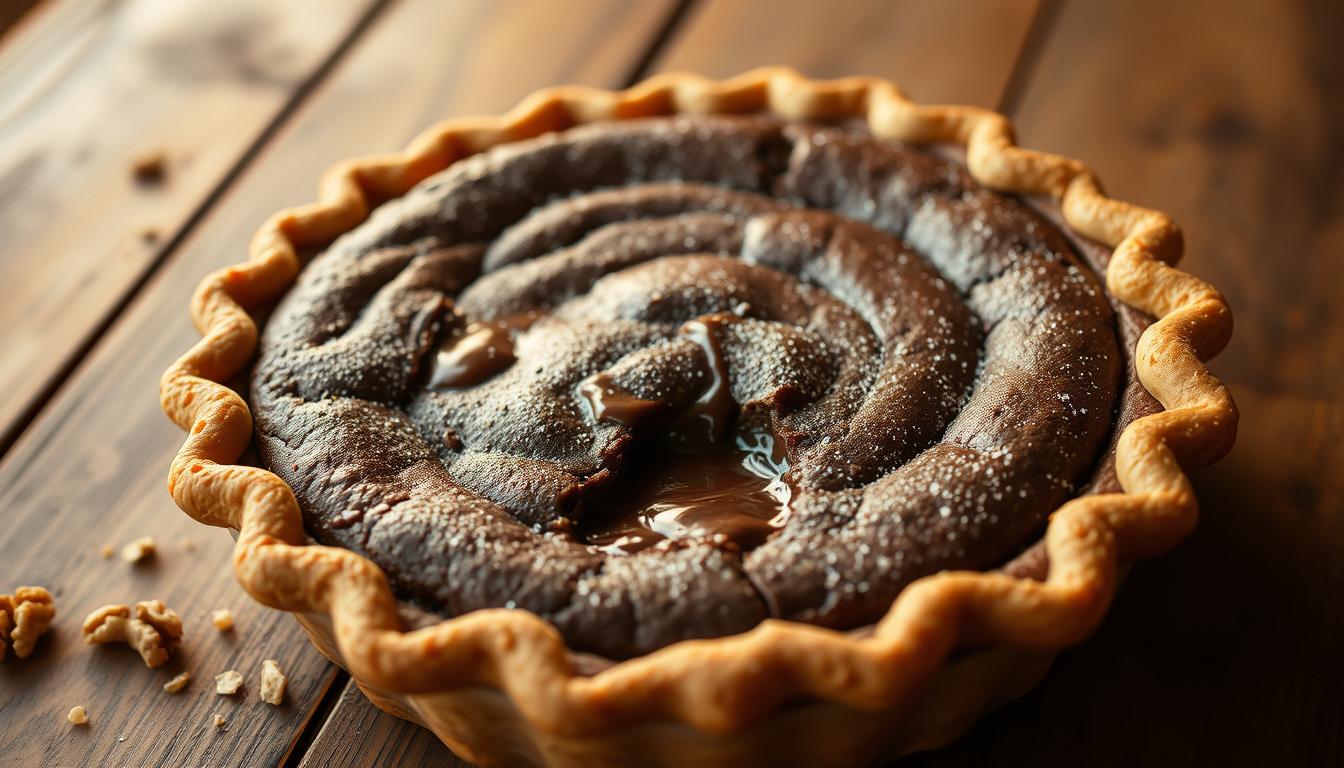
Craving a dessert that merges the fudgy richness of brownies with the crisp elegance of pie? This recipe delivers both in one decadent bite. Imagine a molten chocolate center encased in a crackly crust, oozing with warmth under a drizzle of hot fudge. It’s the ultimate treat for anyone who loves intense chocolate flavor and contrasting textures.
Quality ingredients make all the difference. Semi-sweet chocolate chips melt smoothly into the batter, while fresh butter ensures a velvety base. The secret to that iconic crunchy top and gooey center lies in precise mixing and baking times. Don’t worry—you won’t need advanced skills. Even beginners can nail this dessert with a few simple steps.
From preheating the oven to plating your creation, we’ll walk you through every detail. Whether you’re hosting a dinner party or treating yourself, this recipe adapts effortlessly. Ready to bake smarter, not harder?
Key Takeaways
- Combines fudgy brownie texture with a crisp pie crust for a unique dessert experience
- High-quality semi-sweet chocolate chips enhance richness
- Proper mixing and baking techniques create the signature crackly top
- Simple steps make it accessible for all skill levels
- Pairs perfectly with hot fudge or vanilla ice cream
Introduction & What Makes This Dessert Special
What if you could enjoy a dessert that unites the nostalgic comfort of homemade treats with restaurant-quality flair? This creation reimagines classic favorites by layering dense chocolate layers into a showstopping format. The magic lies in its contrast: a glossy, crackled surface gives way to molten insides that pour like liquid silk when sliced.
The Evolution of the Brownie Pie Concept
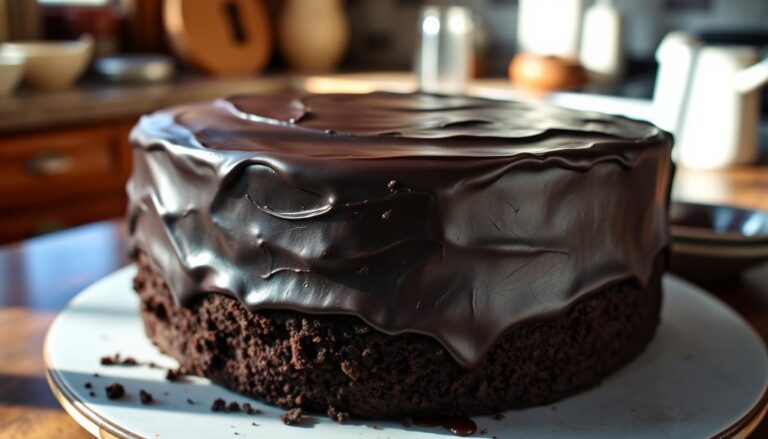
Bakers began experimenting with merging brownies and pies decades ago, but modern techniques elevated the idea. Traditional recipes often produced dry edges or uneven textures. Using a springform pan changed the game—its removable sides let heat circulate evenly, creating tall, photogenic slices with crisp exteriors.
Today’s version balances science and simplicity. Precise oven temperatures and mixing methods ensure that fudgy core stays intact while the crust caramelizes. This recipe skips complicated steps, proving innovation doesn’t require complexity.
Why This Recipe Is a Chocolate Lover’s Dream
Quality matters here. Semi-sweet chocolate delivers depth without overwhelming sweetness, while a splash of vanilla heightens richness. Every bite offers twin pleasures: the snap of a perfectly baked top layer and the warmth of melted cocoa underneath.
Preheating your oven thoroughly ensures even baking—no soggy middles or burnt edges. And that springform pan? It’s not just for looks. The metal base conducts heat faster than ceramic, giving you control over texture. Ready to master these details? Let’s dive in.
Essential Ingredients and Must-Have Equipment
Great desserts start with the right foundation. Every element in this recipe works like clockwork—quality ingredients create texture, while precise tools ensure consistent results. Let’s break down what you’ll need to build that iconic fudge-like center and crisp crust.
Key Ingredients: Chocolate, Butter, Sugar, and More
Opt for semi-sweet chocolate chips—their balanced sweetness melts smoothly without overpowering. Unsalted butter lets you control the salt level, while fresh eggs add lift when beaten properly. Too much flour? Your dessert becomes cakey. Too little? It collapses. The golden ratio here ensures structural integrity with molten pockets.
Granulated sugar isn’t just for sweetness—it caramelizes to form that crackly top. A pinch of salt cuts through richness, making each bite more complex. Always melt butter and chocolate together gently—high heat can cause separation.
Tools You Need: Pie Plate, Springform Pan, Mixer
A springform pan is non-negotiable. Its tight seal prevents leaks, while removable sides guarantee clean slices. For crust lovers, a ceramic pie plate offers extra crispness. Use a stand mixer to whip eggs and sugar to ribbon stage—this traps air for a lighter texture.
Pro tip: Measure flour by spooning it into cups. Packing it down leads to dense results. With these tools and techniques, you’ll avoid common pitfalls and highlight the dessert’s dual textures.
Master these elements, and you’re ready to tackle the baking process with confidence.
Step-by-Step Guide to Creating Your gooey-brownie-pie
Precision transforms good desserts into unforgettable ones. This process rewards patience—rush the steps, and you’ll miss the molten magic. Let’s break it down.

Preparing the Batter with Care
Start by melting 1 cup of butter with 8 oz semi-sweet chocolate in a microwave. Heat in 20-second bursts, stirring between each, to avoid scorching. Let cool slightly before adding to 3 eggs beaten with 1½ cups sugar and 1 teaspoon vanilla. Mix gently—hot ingredients can scramble eggs.
Baking Techniques for a Fudgy Center & Crackly Top
Whisk ¾ cup flour, ¼ teaspoon baking powder salt, and ½ teaspoon salt in a bowl. Fold into wet ingredients until just combined—overmixing creates toughness. Pour into a greased 9-inch springform pan. Bake at 350°F for 25 minutes. The edges should pull away slightly, but the center stays jiggly.
Finishing Touches: Hot Fudge Drizzle and Creative Toppings
Let cool 10 minutes before removing the pan’s collar. Microwave ½ cup fudge sauce in 15-second intervals until pourable. Drizzle over warm slices. Serve with vanilla ice cream or crushed nuts for contrast. This brownie pie recipe shines when textures collide.
Creative Variations and Serving Suggestions
Personalize every layer for a treat that reflects your unique style. Swap ingredients or adjust techniques to match your cravings while keeping that iconic texture contrast intact.
Adapting the Recipe to Personal Taste
Mix chopped walnuts or sea salt caramel chips into the batter for crunch. Try a graham cracker crust in your pie plate instead of traditional pastry for a sweeter base. For richer flavor, blend dark chocolate with the butter chocolate mixture.
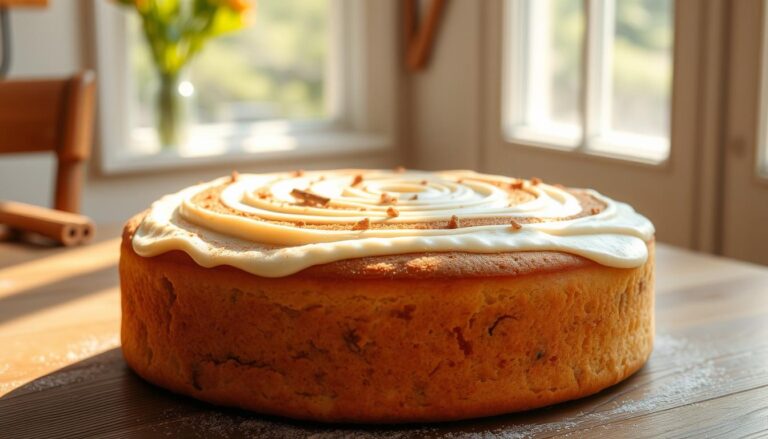
Prefer cake-like texture? Add ¼ teaspoon baking powder and extend bake minutes by 3-5. Those avoiding gluten can use almond flour—just reduce powder salt by half to balance flavors.
Presentation Ideas for Special Occasions
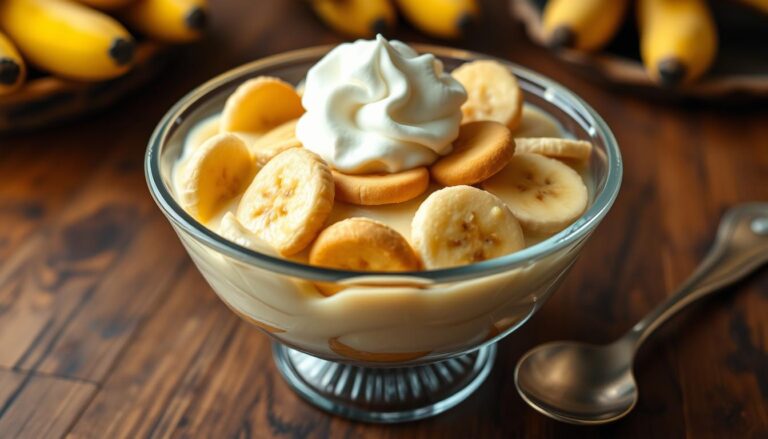
Serve warm slices with a quenelle of ice cream melting over the crackly top. For holidays, dust with edible gold glitter or arrange raspberries in heart shapes. Drizzle salted caramel instead of hot fudge for autumn gatherings.
Stack mini versions in a dessert tower for weddings. Top individual portions with whipped cream rosettes and chocolate shavings. Use a decorative pie plate if serving directly at the table.
Store leftovers in an airtight container for 3 days. Reheat slices at 300°F for 5 minutes to revive the gooey center. Freeze unbaked batter in your pie plate for impromptu dessert emergencies.
Conclusion
Mastering this dessert comes down to balancing patience with technique. By carefully folding flour into your batter and using cooled chocolate mixtures, you create that iconic light fluffy texture. Remember to beat eggs thoroughly—this traps air for a delicate crumb beneath the crackly crust.
Timing shapes success. Bake just until the edges set, then let it rest at room temperature. This cooling period lets flavors deepen while the center firms slightly. Whether you’re new to baking or refining skills, these steps ensure consistent results every time.
Don’t hesitate to tweak toppings or mix-ins. The base recipe’s versatility invites creativity while maintaining its fudgy core. Share slices warm with ice cream or enjoy them solo—the contrast of textures always impresses.
With attention to detail and quality ingredients, you’ll craft a dessert that delights any crowd. This recipe proves that a little time invested yields extraordinary rewards. Now go bake something unforgettable.
FAQ
Can I use a regular cake pan instead of a pie plate?
Yes, but adjust baking time slightly. A metal pan conducts heat faster than glass or ceramic, so check for doneness 5–7 minutes earlier. Ensure the pan is greased well to prevent sticking.
How do I know when the center is fudgy but not underbaked?
Insert a toothpick 1 inch from the edge. If it comes out with moist crumbs (not wet batter), it’s done. The center will firm up as it cools, retaining a soft texture.
Can I substitute dark chocolate for semi-sweet chips?
Absolutely! Dark chocolate adds richness. Use a 1:1 ratio, but note it may intensify bitterness. Balance it with an extra tablespoon of sugar if preferred.
What’s the best way to store leftovers?
Cover tightly with plastic wrap or foil. Keep at room temperature for up to 2 days or refrigerate for 5 days. Reheat slices in the microwave for 10 seconds to restore gooeyness.
How can I make this recipe gluten-free?
Swap all-purpose flour for a 1:1 gluten-free blend. Ensure baking powder and chocolate are certified gluten-free. Texture may be slightly denser but still delicious.
Can I freeze the baked dessert for later?
Yes! Wrap cooled slices in plastic, then foil. Freeze for up to 3 months. Thaw at room temperature or warm in a 300°F oven for 10 minutes before serving.
Why did my topping sink into the batter?
This happens if the batter is too thin or toppings are added too early. Let the batter set for 8–10 minutes in the oven before sprinkling chocolate chips or nuts.