Pickled Garlic Scapes Recipe
Introduction
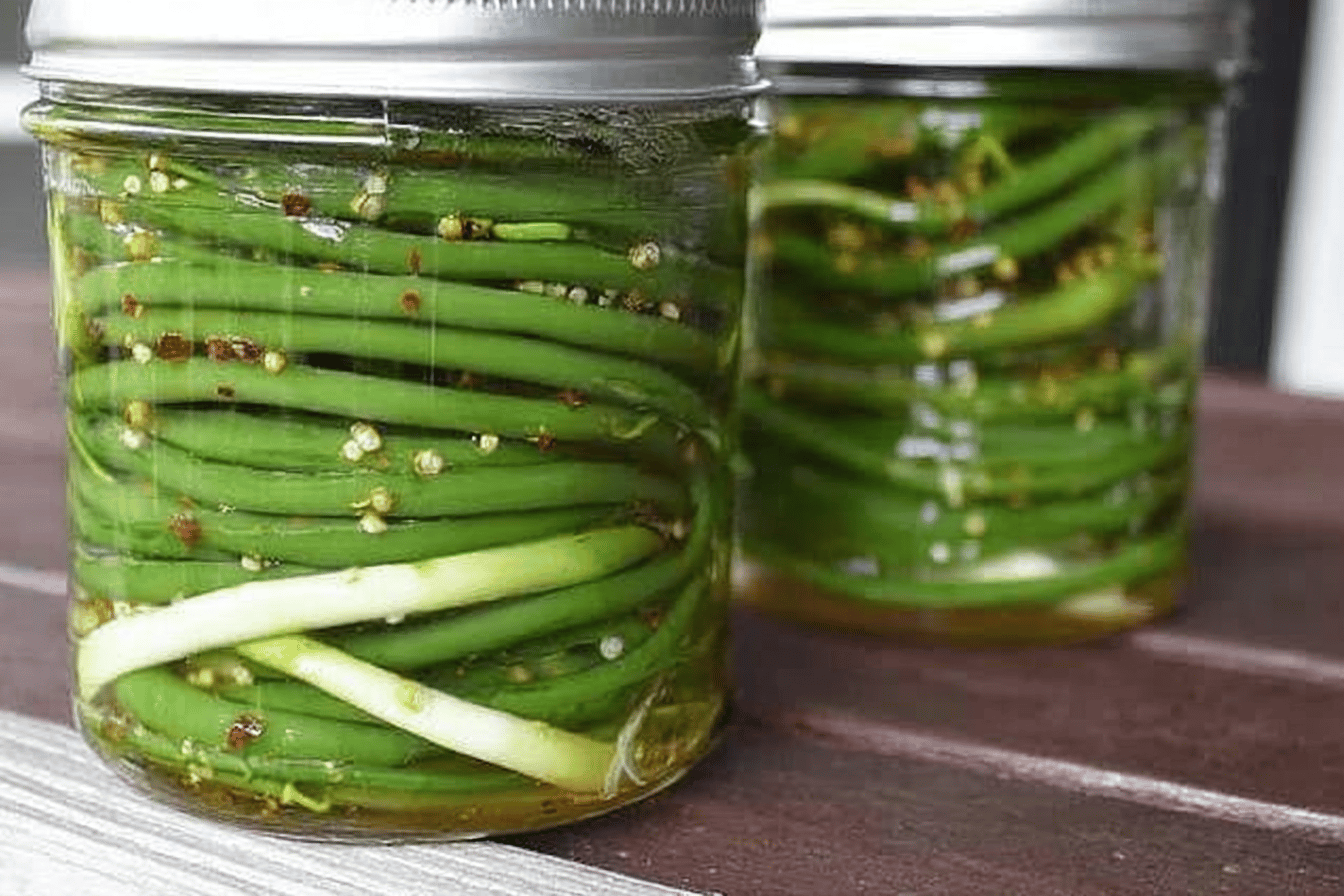
Pickled garlic scapes are a unique, flavorful, and versatile addition to your pantry. If you’re a fan of tangy, savory pickles, this recipe is an excellent way to preserve garlic scapes and enjoy them throughout the year. The briny, garlicky flavor and crunchy texture make them perfect as a snack, garnish, or ingredient in your favorite dishes. This guide will walk you through the process of making these tasty pickled treats, so you can bring a burst of flavor to your meals with ease.
Detailed Ingredients with measures
2 pounds of garlic scapes, trimmed and cut to fit your jars
2 cups of white vinegar
2 cups of water
2 tablespoons of pickling salt
4 teaspoons of dill seed
2 teaspoons of red pepper flakes (optional, for a spicy kick)
4 to 8 cloves of garlic, peeled
Prep Time
Preparing your garlic scapes and other ingredients only takes about 15 to 20 minutes. Make sure to clean and trim the scapes, gather your pickling tools, and sterilize your jars ahead of time for a smooth process.
Cook Time, Total Time, Yield
The cook time for the pickling liquid is just 5 minutes, as you’ll bring the vinegar, water, and pickling salt to a boil until dissolved. Adding in your garlic scapes and brine to the jars, sealing them, and letting them cool and process takes additional time, totaling anywhere between 30 and 45 minutes overall. The recipe makes approximately 4 pints of pickled garlic scapes, perfect for sharing or stocking your pantry.
“`html
Detailed Directions and Instructions
Step 1: Prepare the Garlic Scapes
Trim the garlic scapes by cutting off the tough ends and removing any flower buds if present. Rinse them thoroughly with water to remove dirt or debris. Pat them dry using a clean kitchen towel or paper towel.
Step 2: Prepare the Jars and Lids
Sterilize the jars and lids by either running them through the dishwasher on a hot cycle or placing them in boiling water for a few minutes. Allow them to dry completely before using.
Step 3: Prepare the Brine
Combine the water, vinegar, salt, and sugar in a medium-sized saucepan. Stir to dissolve the sugar and salt. Bring the mixture to a boil over medium-high heat, then lower the heat to keep it at a gentle simmer.
Step 4: Pack the Garlic Scapes into Jars
Carefully coil or stack the prepared garlic scapes into sterilized jars, ensuring they fit snugly without being crushed. Leave about ½ inch of headspace at the top of the jars.
Step 5: Add Flavorings
To each jar, add your choice of flavorings such as dill sprigs, black peppercorns, red pepper flakes, mustard seeds, or any other desired spices. Distribute these evenly among the jars.
Step 6: Pour the Brine
While the brine is still hot, carefully pour it over the garlic scapes and flavorings in the jars. Make sure the scapes are fully submerged but still leave ½ inch of headspace.
Step 7: Remove Air Bubbles
Tap the jars gently on the countertop or use a clean knife or chopstick to remove any trapped air bubbles in the jar. Add more brine if necessary to maintain the headspace.
Step 8: Seal the Jars
Wipe the jar rims clean with a damp cloth to ensure a good seal. Place the lids on top and screw the rings on until just finger-tight—do not overtighten.
Step 9: Process the Jars (Optional)
If you want long-term storage, process the jars in a boiling water bath for 10 minutes. Make sure the jars are fully covered with water during processing. Remove the jars carefully using jar tongs and let them cool completely on a towel-lined surface.
Step 10: Store and Wait
Store the jars in a cool, dark place if processed, or in the refrigerator if not processed. Wait at least 1 week before opening the jars for the best flavor development. Once opened, keep the jars refrigerated.
Notes
Note 1: Garlic Scape Selection
Choose garlic scapes that are firm, vibrant green, and free of blemishes or signs of wilting for the best results.
Note 2: Customizing Flavor
Feel free to experiment with flavor additions such as bay leaves, coriander seeds, or even fresh chili slices to customize the taste of your pickled garlic scapes.
Note 3: Safety Reminder
If you are unsure about your canning technique or just beginning, it is safer to store the jars in the refrigerator rather than using the boiling water canning method.
Note 4: Shelf Life
Properly processed jars can be stored at room temperature for up to 1 year. After opening, refrigerate and use within 1 month.
Note 5: Adjusting Brine Ingredients
The ratio of vinegar, water, salt, and sugar can be slightly adjusted to suit personal preference, but ensure that the vinegar content remains high enough for safe preservation.
“`
Cook Techniques
Preparing the Garlic Scapes
Trim the ends of the garlic scapes and remove any damaged parts. Wash thoroughly under cold running water to ensure cleanliness.
Blanching the Scapes
Bring a pot of water to boil, blanch the garlic scapes briefly, then plunge them into cold water to preserve their vibrant green color.
Preparing the Pickling Liquid
Mix together vinegar, water, salt, and sugar in a pot, heating until the sugar and salt dissolve completely.
Packing the Jars
Pack the prepared garlic scapes into sterilized jars, making them as compact as possible without squishing them.
Adding Flavor
Add spices and flavorings into the jars, like peppercorns, dill, or mustard seeds, for additional layers of taste.
Sealing and Storing
Pour the prepared pickling liquid over the scapes, leaving appropriate headspace. For long-term storage, process jars in a hot water bath ensuring proper sealing.
FAQ
What are garlic scapes?
Garlic scapes are the curly, tender green tops of garlic plants, harvested before the garlic bulbs mature.
Do I need to sterilize jars before pickling?
Yes, sterilizing jars helps ensure the pickled scapes stay safe for consumption and prevents spoilage.
Can I use regular vinegar for pickling?
Yes, but it’s important to use vinegar with at least 5% acidity to ensure proper preservation.
How long should I wait before consuming the pickled garlic scapes?
It’s recommended to let the pickled garlic scapes sit for at least a week to allow the flavors to develop fully.
How should pickled garlic scapes be stored?
Properly processed jars can be stored at room temperature. Once opened, store them in the refrigerator.
Can I add other vegetables to the jar with garlic scapes?
Yes, but make sure all additional vegetables are prepared and blanched appropriately to ensure safe pickling.
How long do pickled garlic scapes last?
When stored properly in sealed jars, pickled garlic scapes can last up to a year. Once opened, consume within a few weeks.
Conclusion
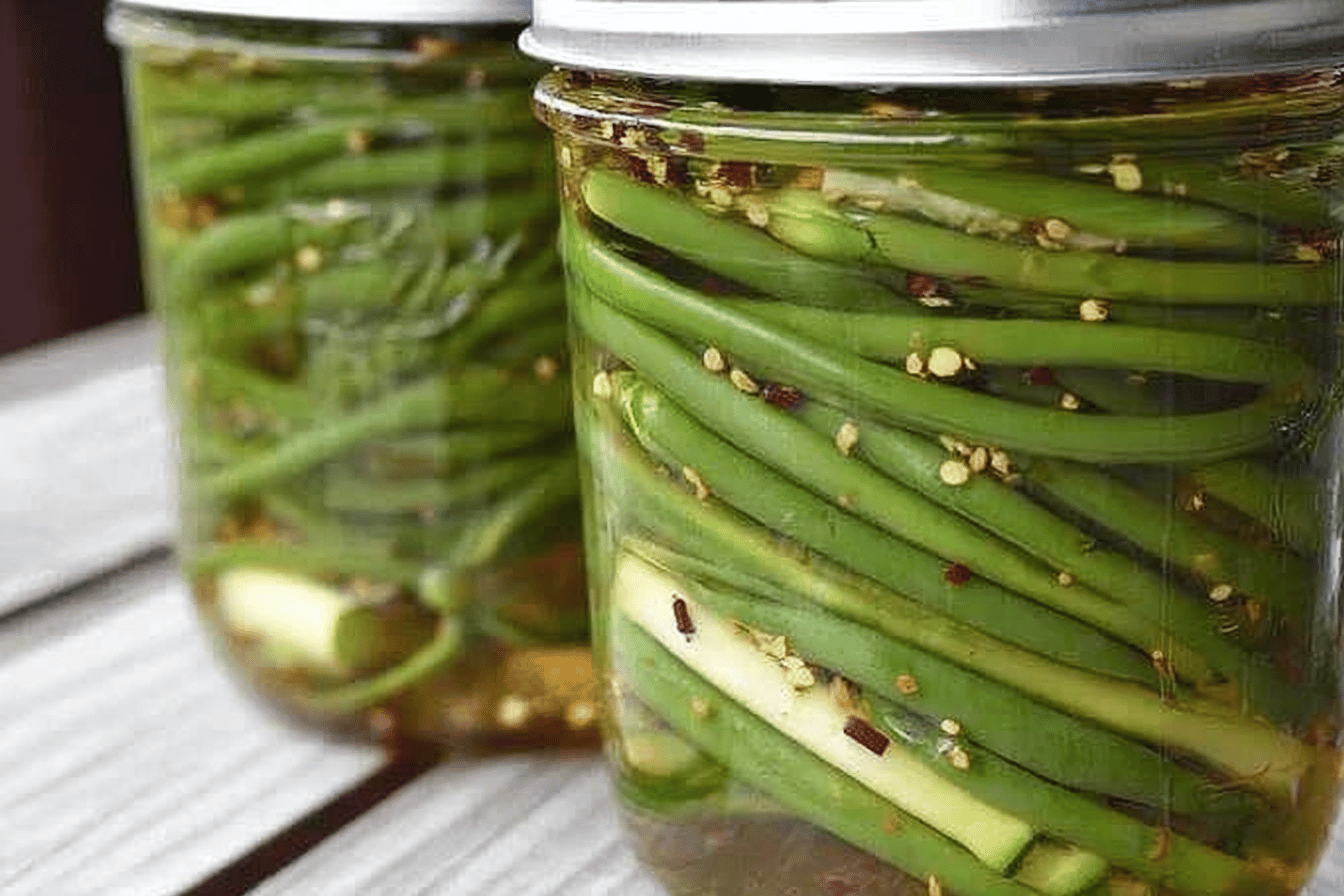
Pickled garlic scapes are a delightful addition to your culinary repertoire. They provide a tangy and unique flavor that can elevate a variety of dishes. Making them ahead not only saves time but also allows the flavors to intensify as they marinate, resulting in a delicious and versatile condiment that you can enjoy year-round. Whether you’re pairing them with salads, sandwiches, or charcuterie boards, these pickled garlic scapes are sure to impress your taste buds and your guests.
More recipes suggestions and combination
Pickled Garlic Scapes as Salad Toppings
Chop the pickled garlic scapes finely and sprinkle them over fresh greens for a zesty crunch.
Use in Sandwiches
Add pickled garlic scapes to sandwiches or wraps for a tangy and garlicky kick.
Incorporate in Charcuterie Boards
Include pickled garlic scapes as part of a charcuterie spread, pairing beautifully with cheeses, cured meats, and crackers.
Add to Stir-Fries
Slice the pickled garlic scapes and toss them into vegetable or meat stir-fries for a delicious pop of flavor.
Serve with Grilled Meats
Use the pickled scapes as a garnish or side for grilled steaks, chicken, or fish.
Enhance Bloody Mary Cocktails
Replace traditional garnishes with pickled garlic scapes for a fun and flavorful twist on your cocktail.
Enjoy as a Snack
Eat pickled garlic scapes straight from the jar for a tangy, garlicky snack.

