Best Easy Classic Brooklyn Blackout Cake Recipe
Imagine sinking your fork into a triple-layer chocolate masterpiece so rich it could make history taste sweet. This iconic dessert traces its roots to Ebinger’s Bakery, a Brooklyn institution that first crafted the blackout cake during World War II. Though the original recipe vanished when the bakery closed in 1972, this modern version captures its legendary charm with a fraction of the effort.
You’ll love how simple it is to recreate this nostalgic treat. The devil’s food cake base comes together in one bowl, while velvety chocolate pudding and glossy frosting add layers of decadence. Unlike fussy desserts, this recipe skips complicated steps—no stand mixer or specialty tools required. Just grab your whisk, a saucepan, and let the chocolate work its magic.
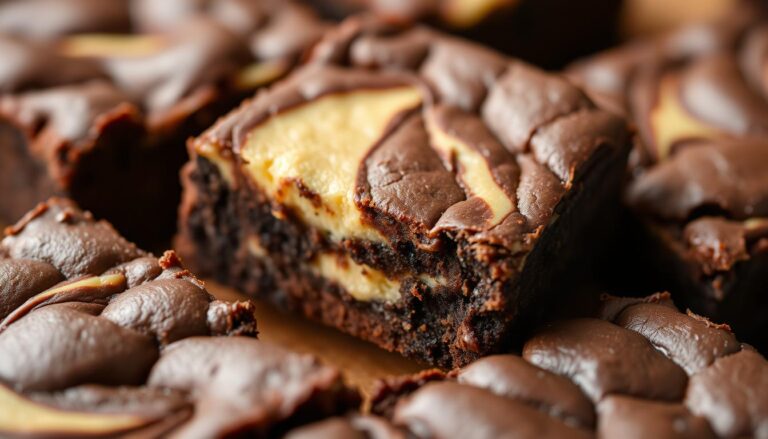
What makes this cake unforgettable? It’s all about contrast. Bitter cocoa balances sweet pudding, while a crumb-coated exterior gives that signature rustic look. As you assemble each layer, you’re continuing a tradition born from Brooklyn’s blackout drills—a delicious reminder that joy can thrive even in dark times.
Key Takeaways
- Inspired by Ebinger’s Bakery’s lost World War II-era recipe
- Features three components: moist cake, silky pudding, and fudgy frosting
- Simplified one-bowl method saves time and cleanup
- Balanced bittersweet flavor profile defines its character
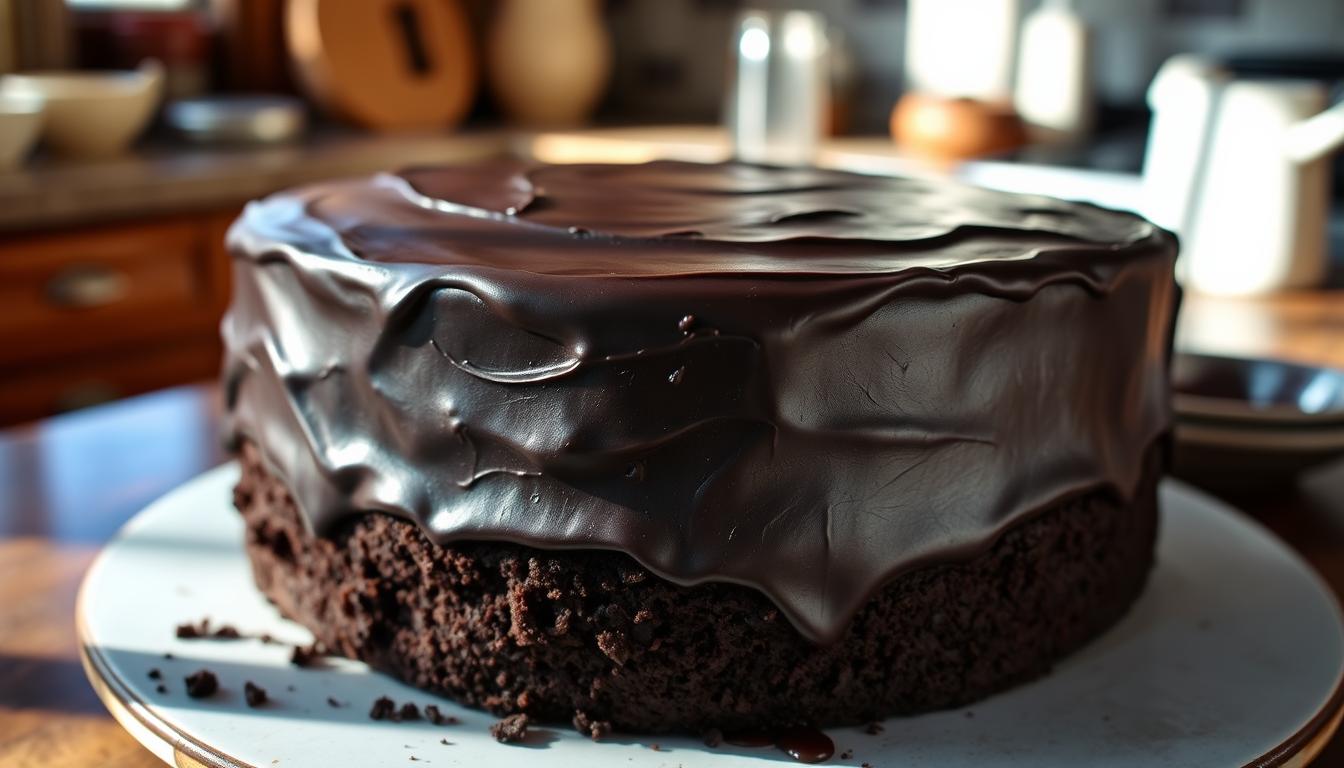
- Crumb-coated sides create authentic visual appeal
- Detailed steps for each element follow in the article
History and Origins of Brooklyn Blackout Cake
Step into 1940s Brooklyn, where the clatter of subway trains mingled with the aroma of fresh-baked goods. Ebinger’s Bakery ruled Flatbush Avenue, drawing crowds with their double-layer chocolate cakes swathed in fudge. But when wartime blackout drills darkened the borough, bakers transformed their signature treat into something extraordinary.
The Legend of Ebinger’s Bakery
George and Catherine Ebinger built their empire on butter-rich pastries and community trust. Their chocolate cake stood out for its bold cocoa flavor, achieved by blending Dutch-process powder with melted butter and sugar. Workers piled three moist layers high, using pudding as both filling and glue—a hack that saved time during rationing shortages.
The bakery’s 1972 closure sparked recipe hunts nationwide. Former patrons swore the secret lay in precise ratios: two parts sugar to one part salt, creating a sweet-savory balance modern bakers still chase.
Blackout Drills and the Cake’s Unique Name
Mandatory drills during WWII required Brooklynites to douse lights nightly. Bakeries adapted by wrapping treats in dark packaging—a move that inspired Ebinger’s to rebrand their darkest chocolate creation. The cake’s layered structure mirrored the city’s resilience: dense yet tender, bitter yet sweet.
Today, each slice honors that era. As you fold cocoa into your mixing bowl, remember—you’re not just baking. You’re preserving a story where sugar met survival, and dessert became defiance.
Essential Ingredients and Tools for Your Recipe
Great baking begins with quality components and reliable gear. For this iconic dessert, each ingredient carries weight—swap one item, and you risk losing the bold cocoa punch or velvety crumb that defines Brooklyn’s legendary treat. Let’s break down what you’ll need to build flavor layers worthy of Ebinger’s legacy.
Must-Have Baking Essentials
Start with Dutch-process cocoa powder—its low acidity intensifies chocolate flavor without bitterness. Combine it with all-purpose flour, baking soda, and dark brown sugar for depth. Room-temperature eggs and sour cream create a silky batter, while hot coffee (yes, coffee!) amplifies cocoa richness.
Measure flour by spooning it into cups to avoid dense layers. Too much baking soda? Your cake will taste metallic. Too little? It won’t rise. Precision matters.
Tools and Equipment You’ll Need
Grab two mixing bowls: one for dry ingredients (cocoa powder, flour, soda) and another for wet (eggs, sour cream, sugar). A sturdy spatula folds batter smoothly, while three 8-inch pans ensure even baking. No stand mixer? A whisk works fine.
Your oven does the heavy lifting. Preheat it while prepping batter—temperature drops cause uneven rises. Remember: proper tools transform good desserts into historic replicas.
brooklyn-blackout-cake-recipe Step-by-Step Instructions
Ready to layer chocolate magic? This iconic dessert comes together through three key stages: fluffy cake layers, silky pudding, and whipped ganache. Follow these precise steps to build texture and flavor like a pro baker—no pastry degree required.

Preparing the Cake Layers and Batter
- Preheat oven to 350°F. Grease three 8-inch pans with butter.
- Sift 1¾ cups flour with ¾ cup cocoa powder, baking soda, and salt. Clump-free dry ingredients ensure a tender crumb.
- Whisk 2 cups sugar, eggs, sour cream, and oil in a second bowl. Stream in 1 cup hot coffee while mixing—this activates cocoa’s depth.
- Fold dry mixture into wet ingredients until just combined. Overmixing creates tough layers.
- Divide batter evenly. Bake 28-30 minutes until springs back when touched.
Creating the Rich Chocolate Pudding and Ganache
- Pudding: Heat 2 cups milk. Mix ½ cup sugar, ¼ cup cocoa powder, cornstarch, and salt. Temper with hot milk, then boil 2 minutes until thick.
- Ganache: Microwave 1½ cups cream 90 seconds. Pour over 10 oz chopped dark chocolate. Stir, cool to room temp, then whip into frosting.
Cool cakes completely. Crumble one layer for coating. Stack remaining layers with pudding between each. Frost sides with ganache, then press cake crumbs onto surfaces. Chill 1 hour before slicing—the bittersweet frosting against sweet sponge is pure Brooklyn heritage on a plate.
Adaptations and Pro Tips for the Ultimate Dessert
Transform your kitchen into a chocolate workshop with clever shortcuts and presentation hacks. Whether you’re pressed for time or missing an ingredient, these tweaks maintain the dessert’s soul while fitting modern needs.
Ingredient Swaps and Speed Methods
Swap layered baking for a single sheet cake—bake batter in a 9×13 pan at 325°F. Need golden syrup? Dark corn syrup works but adds deeper caramel notes. For microwave ganache, heat cream in 30-second bursts until steaming (not boiling) to protect chocolate’s texture.
Room-temperature eggs blend smoother into batter. If your vanilla extract isn’t fresh, use 1 tsp almond extract instead. Struggling with clumpy pudding? Whisk cornstarch into cold milk first before heating.
Mastering Visual Appeal
Crumb-coat like a pro: freeze cake layers 20 minutes before frosting. Press crumbs onto sides using a flat spatula—rotate the stand for even coverage. Chill ganache to 68°F for pipeable consistency. Angle your piping bag 45 degrees when creating swirls on top.
If frosting seizes, dip tools in hot water to smooth surfaces. Over-mixed batter? Fold in 1 tbsp room-temperature milk to relax gluten. Remember: imperfections add charm, just like Brooklyn’s original bakers intended.
Conclusion
Every slice of this iconic dessert carries Brooklyn’s culinary legacy. Simple tools like a spatula and mixing bowl transform pantry staples into layered perfection. Whether you’re a novice or seasoned baker, the recipe balances history with approachable techniques—proof that decadent cakes needn’t be complicated.
From velvety pudding to fudgy crumbs coating the sides, each element defines its character. Store leftovers (if any!) on a wire rack covered for up to three days. Even basic recipes become extraordinary when every crumb tells a story.
Share your creation proudly. This dessert thrives on adaptability—swap pans or tweak ganache, but keep that crumb-coated charm. As you slice through layers, remember: you’re savoring generations of innovation, one rich bite at a time.
FAQ
Why is Brooklyn Blackout Cake called “blackout”?
The name references both WWII-era blackout drills in Brooklyn and the cake’s dark chocolate layers. Ebinger’s Bakery popularized it, using chocolate pudding and cake crumbs to create a rich, “blacked-out” appearance.
Can I substitute buttermilk in the cake batter?
Yes! Mix 1 tablespoon vinegar or lemon juice with 1 cup milk. Let it sit for 5 minutes to mimic buttermilk’s tangy flavor and tenderizing effect on the crumb.
How do I prevent the cake layers from drying out?
Avoid overbaking. Test with a toothpick at 30 minutes. Wrap cooled layers in plastic wrap and store at room temperature for up to 2 days before assembling.
Can I make the chocolate pudding ahead of time?
Absolutely. Prepare the pudding 1–2 days in advance and refrigerate. Reheat gently on the stove or in a microwave, stirring in 1–2 tbsp milk to restore its spreadable texture.
What’s the purpose of the crumb coating?
A thin layer of chocolate ganache locks in crumbs before the final frosting. This ensures a smooth, professional finish when adding the pudding and cake crumb topping.
Can I use Dutch-process cocoa instead of natural cocoa?
Natural cocoa (like Hershey’s) works best with baking soda for rise. Dutch-process cocoa requires baking powder. Check your recipe’s leavening agents before swapping.