Butterfinger Balls
Introduction
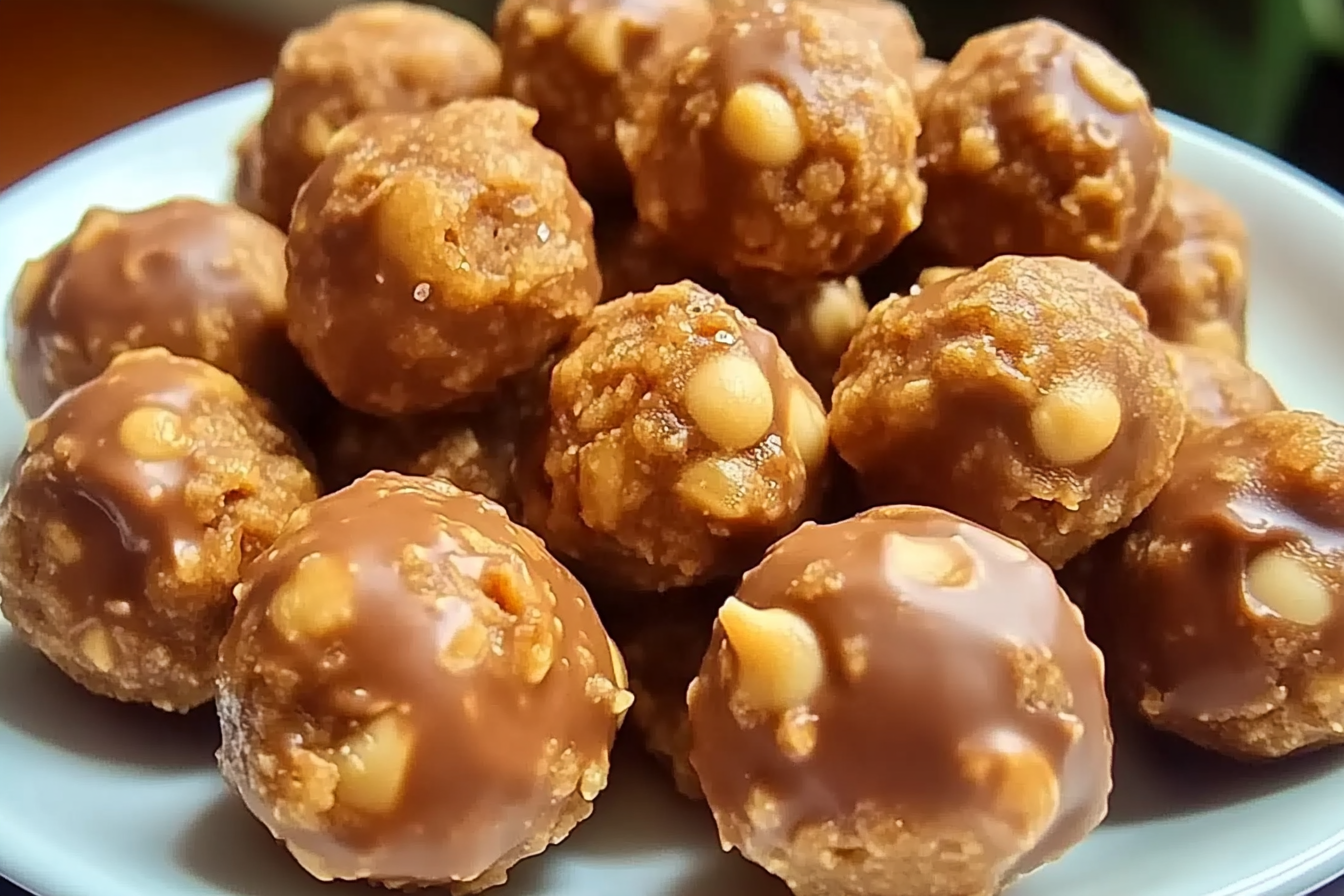
Butterfinger Balls are a delightful treat that combines the rich, crunchy flavors of Butterfinger candy with the creamy texture of chocolate. These no-bake snacks are perfect for sharing at parties or enjoying as a sweet indulgence anytime. With a simple preparation process and minimal ingredients, they are an accessible dessert that anyone can make.
Detailed Ingredients with measures
Butterfinger candy bars – 6 large bars
Cream cheese – 8 oz, softened
Powdered sugar – 1 cup
Chocolate chips – 1 cup, for coating
Prep Time
20 minutes
Cook Time, Total Time, Yield
Cook Time: 0 minutes
Total Time: 20 minutes
Yield: Approximately 24 balls
Detailed Directions and Instructions
Step 1: Prepare the Cookie Mixture
In a mixing bowl, combine crushed Butterfinger candy bars with creamy peanut butter. Mix well until fully combined, creating a dough-like consistency.
Step 2: Form the Balls
Using your hands, take a small amount of the mixture and roll it into a ball about 1 inch in diameter. Place the formed balls on a baking sheet lined with parchment paper.
Step 3: Chill the Balls
Once all the balls are formed, transfer the baking sheet to the refrigerator. Allow the balls to chill for at least 30 minutes, which helps them firm up.
Step 4: Melt the Chocolate
In a microwave-safe bowl, melt your choice of chocolate (milk, dark, or white) in 30-second intervals, stirring in between, until smooth and fully melted.
Step 5: Coat the Balls
Remove the chilled balls from the refrigerator. Dip each ball into the melted chocolate, ensuring it’s fully coated. Use a fork to lift the ball out, allowing excess chocolate to drip off.
Step 6: Set the Coated Balls
Return the chocolate-coated balls to the parchment-lined baking sheet. If desired, sprinkle crushed Butterfinger on top before the chocolate sets for added texture and flavor.
Step 7: Chill Again
Place the coated balls back into the refrigerator for about 15-20 minutes, or until the chocolate has fully hardened.
Step 8: Serve and Enjoy
Once set, the Butterfinger balls are ready to be served. Enjoy these delicious treats with family and friends!
Notes
Storage
Store the Butterfinger balls in an airtight container in the refrigerator to maintain freshness for up to a week.
Variations
Feel free to experiment with different types of chocolate or add ingredients like shredded coconut or crushed nuts for unique flavors.
Allergy Advice
Be mindful of any allergies when serving these treats, especially concerning peanut butter and chocolate.
Serving Suggestions
These treats are perfect for parties, holidays, or as a sweet snack anytime! Consider pairing them with a glass of milk or coffee for a delightful experience.
Cook techniques
Using Chocolate Coating
Ensure that you melt the chocolate slowly, either in a microwave or using a double boiler, to achieve a smooth consistency for coating the butterfinger balls.
Rolling Uniform Balls
When forming the balls, use your hands to make them uniform in size, which helps in even coating and presentation.
Chilling for Shape
After forming the balls, refrigerate them so they firm up before dipping them in chocolate, making the process easier.
Choosing the Right Type of Chocolate
Select high-quality chocolate for coating to enhance flavor and texture, using either milk chocolate or dark chocolate according to preference.
Storing Properly
Store the coated butterfinger balls in an airtight container in the refrigerator to maintain freshness.
FAQ
Can I use a different type of nut butter?
Yes, you can substitute with any nut butter of your choice, such as almond or cashew butter.
How long will the butterfinger balls last?
They can last up to one week if stored in an airtight container in the refrigerator.
Can I freeze butterfinger balls?
Yes, you can freeze them. Just ensure they are properly sealed to avoid freezer burn.
Are these gluten-free?
Yes, if you use gluten-free cookie crumbs, these butterfinger balls can be gluten-free.
Can I add additional toppings?
Absolutely! You can sprinkle crushed nuts or drizzles of chocolate on top for added texture and flavor.
Conclusion
Butterfinger Balls are a delightful treat that combines the rich flavors of chocolate and peanut butter with the crunchy texture of crushed Butterfinger bars. They are simple to make and perfect for any occasion, bringing a delicious sweetness that is sure to please everyone. Whether you’re preparing for a gathering or a cozy night in, these bite-sized goodies are a fantastic choice.
More recipes suggestions and combination
Peanut Butter Chocolate Truffles
These truffles mix creamy peanut butter and dark chocolate for a rich, decadent dessert that melts in your mouth.
Oreo Balls
Combine crushed Oreo cookies with cream cheese, dip in chocolate, and enjoy the classic flavor of Oreo in a bite-sized ball.
Coconut Macaroons
Chewy, sweet coconut macaroons are a tropical twist that pairs well with chocolate drizzling on top.
Rice Crispy Treats
Add a twist to the classic Rice Krispies Treat by incorporating chocolate and peanut butter for a crunchy, sweet bar.
Cheesecake Bites
Mini cheesecake bites offer a creamy blend of flavors, perfect for those who enjoy a rich dessert in small portions.
Chocolate-Dipped Fruit
Fresh strawberries or bananas dipped in chocolate provide a refreshing and guilt-free treat that complements the sweetness of Butterfinger Balls perfectly.