How to Make Chocolate-Lasagna: A Delicious Dessert
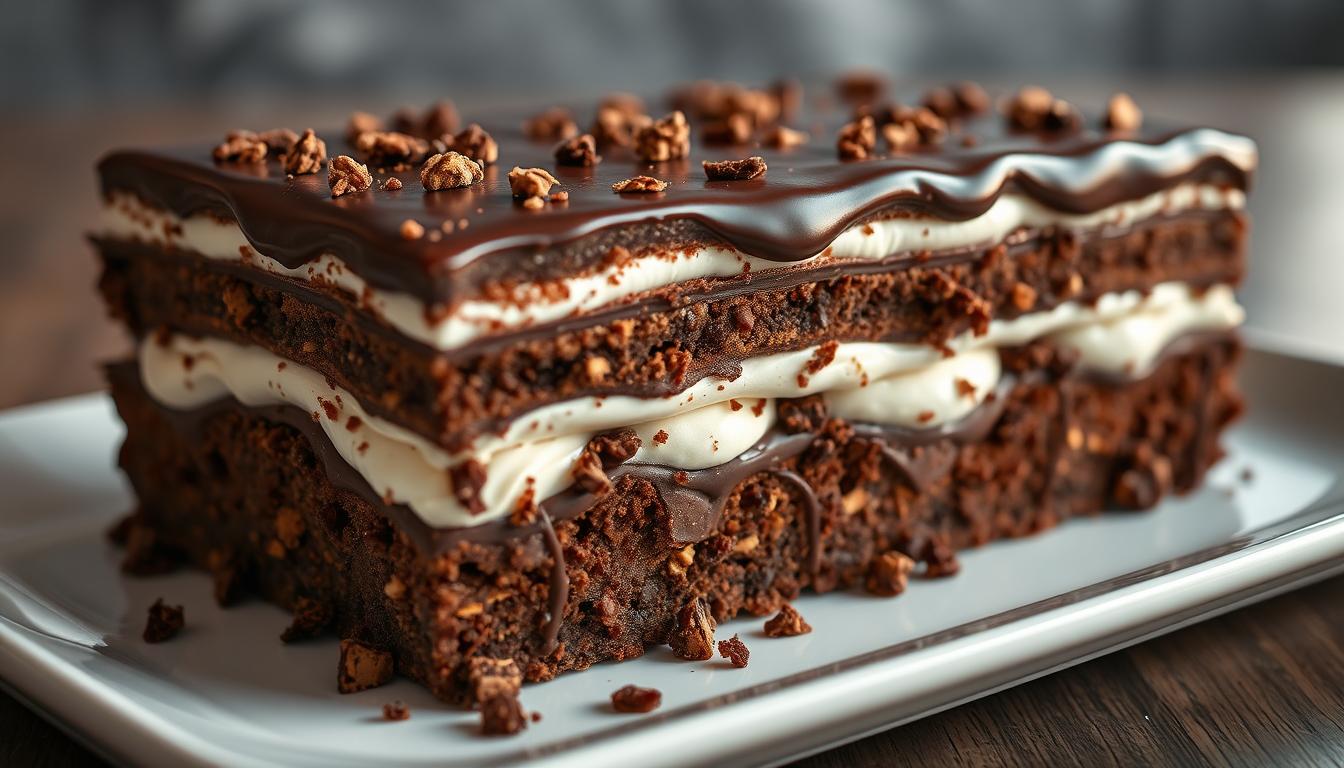
Craving a decadent no-bake treat that’s as easy to assemble as it is to devour? Meet chocolate lasagna—a crowd-pleasing dessert layered with crunchy Oreo crust, velvety cream cheese, rich instant chocolate pudding, and fluffy whipped topping. Perfect for potlucks, birthdays, or casual weeknight cravings, this recipe delivers a showstopping combination of textures and flavors without turning on your oven.
Whether you’re new to no-bake desserts or a seasoned pro, you’ll love how simple it is to make chocolate lasagna. We’ll walk you through each step, from crushing cookies to sprinkling mini chocolate chips for that final touch. Trusted sources like Allrecipes and Taste of Home praise its versatility, making it a staple for chocolate lovers nationwide.
Key Takeaways
- No-bake preparation saves time and keeps your kitchen cool.
- Layers include Oreo crust, cream cheese, instant chocolate pudding, and whipped topping.
- Ideal for parties, holidays, or casual family desserts.
- Customize with mini chocolate chips or crushed cookies for added crunch.
- Popular across trusted recipe platforms for its simplicity and crowd appeal.
Ready to dive in? Grab your ingredients—this fuss-free dessert comes together in under 30 minutes. Let’s create a dish that’ll have everyone asking for seconds!
Introduction to This No-Bake Dessert
Imagine a dessert that layers crunch and creaminess without ever needing the oven. This crowd-favorite borrows the best parts of Oreo ice cream cake and Olive Garden’s classic treats but adds its own playful spin. Families and food bloggers alike rave about its mix of textures—crumbled cookies meet velvety fillings in every bite.
Why You’ll Love This Recipe
No-bake magic means you can prep it during a heatwave or while multitasking dinner. The base of crushed Oreos blends with butter for a crust that’s sturdy yet crumbly. Next comes a cloud-like blend of cream cheese and cool whip, followed by silky chocolate pudding. Each layer chills separately, locking in distinct flavors.
Need a make-ahead dish for parties? Assemble it the night before. Guests will marvel at the restaurant-quality presentation, unaware it took just 20 minutes of active prep. Plus, mini chocolate chips on top add a satisfying crunch kids adore.
The Story Behind Chocolate-Lasagna
This dessert gained fame at potlucks and family reunions, where its simplicity stole the show. One home cook shared how her grandmother tweaked a 1970s pudding recipe by adding cream cheese for richness. Another credits its viral status to TikTok bakers who highlighted the crushed Oreos contrast with smooth layers.
Today, it’s a staple for busy hosts and chocolate enthusiasts. As one blogger notes, “It’s like edible architecture—every layer has a purpose.” Whether served at birthdays or barbecues, it bridges nostalgia and modern convenience perfectly.
Gather Your Ingredients
Assembling this dessert is a breeze when you’re prepared. Fresh ingredients and precise measurements ensure each layer holds its shape and flavor. Let’s break down what you’ll need to make chocolate magic happen.
Pantry Staples and Fresh Ingredients
Start with 36 regular Oreos for the oreo crust—their crisp texture is non-negotiable. You’ll also need full-fat cream cheese, cold milk, and instant chocolate pudding mix for the pudding layer. Don’t forget granulated sugar, melted butter, and an 8-ounce tub of Cool Whip (or homemade whipped cream). Optional toppings like mini chocolate chips add playful crunch.
Essential Kitchen Tools
A food processor crushes Oreos evenly, while an electric mixer whips cream cheese into fluffy perfection. Use a spatula to spread layers smoothly without tearing the oreo crust. Measuring cups and spoons keep portions accurate—no guessing games here. Pro tip: Chill your mixing bowl beforehand to stabilize the whipped cream faster.
Preparing the Oreo Crust
The foundation of any great dessert starts with the perfect base. For this no-bake masterpiece, the Oreo crust provides both crunch and structure. Let’s break down how to create this essential layer efficiently.
Crushing Cookies Like a Pro
Begin by crushing 36 regular Oreos into fine crumbs. Use a food processor for quick, even results—pulse until no large chunks remain. No processor? Place cookies in a sealed bag and roll with a rolling pin. Uniform texture prevents gaps in your crust.
Binding With Butter
Mix crumbs with 6 tablespoons of melted butter until fully coated. The mixture should hold together when pressed. Pour it into a 9×13-inch dish, pressing firmly with a measuring cup or spatula. This creates a compact base that supports the pudding mix layer later.
Managing prep time here is key. Work quickly so the butter doesn’t solidify before spreading. Chill the crust for 10 minutes while preparing the next layer. This pause ensures your instant chocolate filling sits on a stable foundation.
Pro tip: Wipe excess crumbs from the dish edges for clean layers. A well-made crust means every slice holds its shape when served.
Creating the Cream Cheese Layer
Mastering this step ensures your dessert strikes the perfect balance between rich and airy. The cream cheese mixture acts as a silky bridge between the crunchy Oreo base and the decadent chocolate pudding above.
Steps for a Smooth, Fluffy Mixture
Start with room-temperature cream cheese—cold blocks won’t blend smoothly. Beat 8 ounces of cream cheese in a bowl with a hand mixer or stand mixer for 1-2 minutes. Gradually add ¼ cup of granulated sugar and 2 tablespoons of milk. Mix until fluffy, scraping the bowl’s sides to prevent lumps.
Next, gently fold in 1½ cups of Cool Whip using a spatula. Overmixing deflates the airiness, so use wide, slow strokes. The result should resemble cloud-like cheesecake filling. Spread this over your chilled Oreo crust, leaving a ½-inch border to prevent layers from blending.
This cream layer is crucial—it adds tangy contrast to the sweet chocolate above. Let it chill for 10 minutes before adding pudding. Pro tip: If your mixture feels thick, add 1 teaspoon of milk at a time until spreadable.
Mixing the Chocolate Pudding Layer
The secret to a luxuriously thick pudding lies in your technique. This layer acts as the rich anchor that ties the Oreo crust and cream cheese together. Precision here ensures each bite melts smoothly on the tongue.
Whisking Techniques for Instant Pudding
Start by combining two packets of instant chocolate pudding mix with 3½ cups of ice-cold milk. Use a wire whisk and stir briskly for 2 minutes—no shortcuts. The cold temperature activates the mix faster, creating a glossy texture. Work quickly to prevent lumps from forming.
Once thickened, spread the pudding over your chilled cream cheese layer immediately. A silicone spatula helps distribute it evenly without disturbing the layers below. Trusted recipes emphasize using exact milk measurements—too much creates runniness, while too little makes it stiff.
This step moves fast but impacts the entire dessert’s structure. As one pastry chef notes, “Think of it as edible glue—it binds every component while adding deep chocolate flavor.” Let it set for 5 minutes before adding the final whipped topping.
Layering Your Chocolate-Lasagna Masterpiece
Building your dessert like a pro requires precision and patience. The right assembly order ensures clean layers and balanced flavors. Let’s break down the process to create a dessert that looks as stunning as it tastes.
Assembly Order and Optimal Layering
Start with your chilled Oreo crust as the foundation. Spread the cream cheese mixture next using a spatula dipped in warm water—this prevents sticking. Work quickly but gently to avoid blending layers. Chill for 10 minutes to firm the cheese layer before adding pudding.
Pour the chocolate pudding into a large bowl first. This lets you test its thickness before transferring. Use a ladle to distribute it evenly without disturbing the cream layer below. Another 10-minute chill helps it set before topping with whipped cream.
For the final layer, whip your topping until stiff peaks form. Spread it with a flat spatula for smooth edges. Garnish with mini chocolate chips immediately so they stick. Let the dessert chill for at least 4 hours—this melds flavors and solidifies textures.
- Layer order: Oreo crust → cream cheese → pudding → whipped topping
- Chill 10 minutes between each layer
- Use tools like offset spatulas for sharp edges
Pro tip: Wipe your spatula between layers to maintain visual separation. As one baker advises, “Treat each layer like a fresh canvas—no shortcuts.” Follow these steps, and your dessert will slice cleanly every time.
Chill Time and Serving Suggestions
Patience pays off when crafting layered desserts. Proper refrigeration ensures your creation holds its shape and flavors meld beautifully. Let’s dive into timing tricks and presentation hacks to elevate your dish from tasty to unforgettable.
How Long to Refrigerate Each Layer
Chill the assembled dessert for at least 2-3 hours—overnight works best. This gives the milk-based pudding time to set and the butter in the crust to firm up. Cover the dish with plastic wrap to prevent odors from seeping in.
If you’re short on time, freeze it for 45 minutes before serving. Just avoid leaving it too long—ice crystals can form in the whipped topping. Pro tip: Mark your fridge door with a sticky note to track chill hours.
Serving and Presentation Tips
Run a knife under hot water before slicing. This creates clean cuts through the layers. For portion control, use a cookie scoop to create mini “stacks” in dessert cups.
- Sprinkle crushed Oreos or mini chocolate chips on top for texture.
- Add fresh berries for a pop of color and tart contrast.
- Drizzle caramel or raspberry sauce over individual slices.
Store leftovers in an airtight container for up to 3 days. The layers stay crisp, and the flavors deepen—if there’s any left!
Variations and Customizations
Transform your dessert into a flavor playground with endless customization options. While the classic recipe shines on its own, small tweaks can turn it into a personalized masterpiece. Let’s explore ways to elevate your creation while keeping the no-bake magic intact.
Chocolate Peanut Butter and Fruity Twists
Swap the cream cheese layer for a peanut butter blend. Mix ½ cup of creamy peanut butter into the cream cheese mixture for a salty-sweet kick. Want fruity vibes? Replace chocolate pudding with strawberry gelatin layers. Add fresh berries between the crumbs and whipped topping for a summery twist.
- Try caramel sauce drizzled over crushed pretzels for a salty crunch.
- Layer sliced bananas with chocolate pudding for a banana split vibe.
- Use lemon pudding and graham cracker crumbs for a citrusy version.
Creative Toppings for Extra Crunch
Top your dessert with texture-rich additions that surprise and delight. Mini chocolate chips add playful bites, while toasted coconut flakes bring tropical flair. For adventurous eaters, sprinkle candied bacon bits over the final topping.
- Crush peppermint candies for a holiday-ready finish.
- Dust cocoa powder or powdered sugar for elegant simplicity.
- Add rainbow sprinkles to appeal to kids (or kids-at-heart).
Remember: The base recipe remains your foundation. As one baker puts it, “Customize the toppings, not the structure—unless you’re ready for dessert science!” Start with one twist per batch, then mix and match once you’ve mastered the basics.
Conclusion
You’ve just discovered how effortless it is to craft a dessert that balances crunch, creaminess, and chocolate bliss. From blending the Oreo mixture with butter to layering fluffy cream cheese and silky pudding, each step builds toward a showstopping result. Finish with mini chocolate chips or crushed cookies for texture, and let the fridge work its magic.
This recipe thrives on simplicity. Swap ingredients like pudding flavors or toppings to match your cravings. Use quality cocoa-based products for richer layers, and don’t rush the chill time—patience ensures clean slices.
Perfect for weeknights or celebrations, this no-bake treat adapts to any occasion. Share it at potlucks, or keep it all to yourself. Once you mix your first batch, you’ll see why these recipes earn rave reviews. Grab your tools, experiment with variations, and watch smiles spread with every decadent bite.
FAQ
Can I use a different type of cookie for the crust?
Yes! While Oreos are classic, you can substitute them with graham crackers or chocolate wafer cookies. Mix the crumbs with melted butter as directed for a sturdy base.
How do I prevent lumps in the cream cheese layer?
Ensure your cream cheese is softened to room temperature. Beat it with sugar first until smooth before folding in whipped topping like Cool Whip.
Can I use homemade pudding instead of instant?
Instant chocolate pudding works best because it sets quickly. Cooked pudding requires chilling before layering, which adds significant prep time.
How long does chocolate lasagna need to chill before serving?
Refrigerate it for at least 4 hours, but overnight is ideal. This allows the layers to firm up, making slicing cleaner.
Can I freeze chocolate lasagna for later?
Freezing isn’t recommended. The texture of the pudding and whipped topping layers may become grainy when thawed.
What’s a dairy-free alternative for this recipe?
Swap cream cheese for vegan cream cheese, use coconut milk in the pudding, and opt for dairy-free whipped topping. Check Oreo labels for vegan compliance.
Can I add toppings other than mini chocolate chips?
Absolutely! Crushed nuts, sprinkles, or caramel drizzle work well. Add toppings just before serving to maintain crunch.
How do I cut clean slices without layers smearing?
Dip a sharp knife in warm water, wipe it dry, and slice gently. Repeat between cuts for neat portions.
Can I make this dessert ahead for a party?
Yes! Assemble it 1–2 days in advance. Keep it covered in the fridge and add toppings like whipped cream right before serving.
Why is my pudding layer too runny?
Ensure you’re using the correct milk-to-pudding ratio. Instant pudding requires 2 cups of cold milk per 3.9-ounce box. Whisk vigorously for 2 minutes to thicken.