Easy Homemade Pie Crust Recipe
Introduction
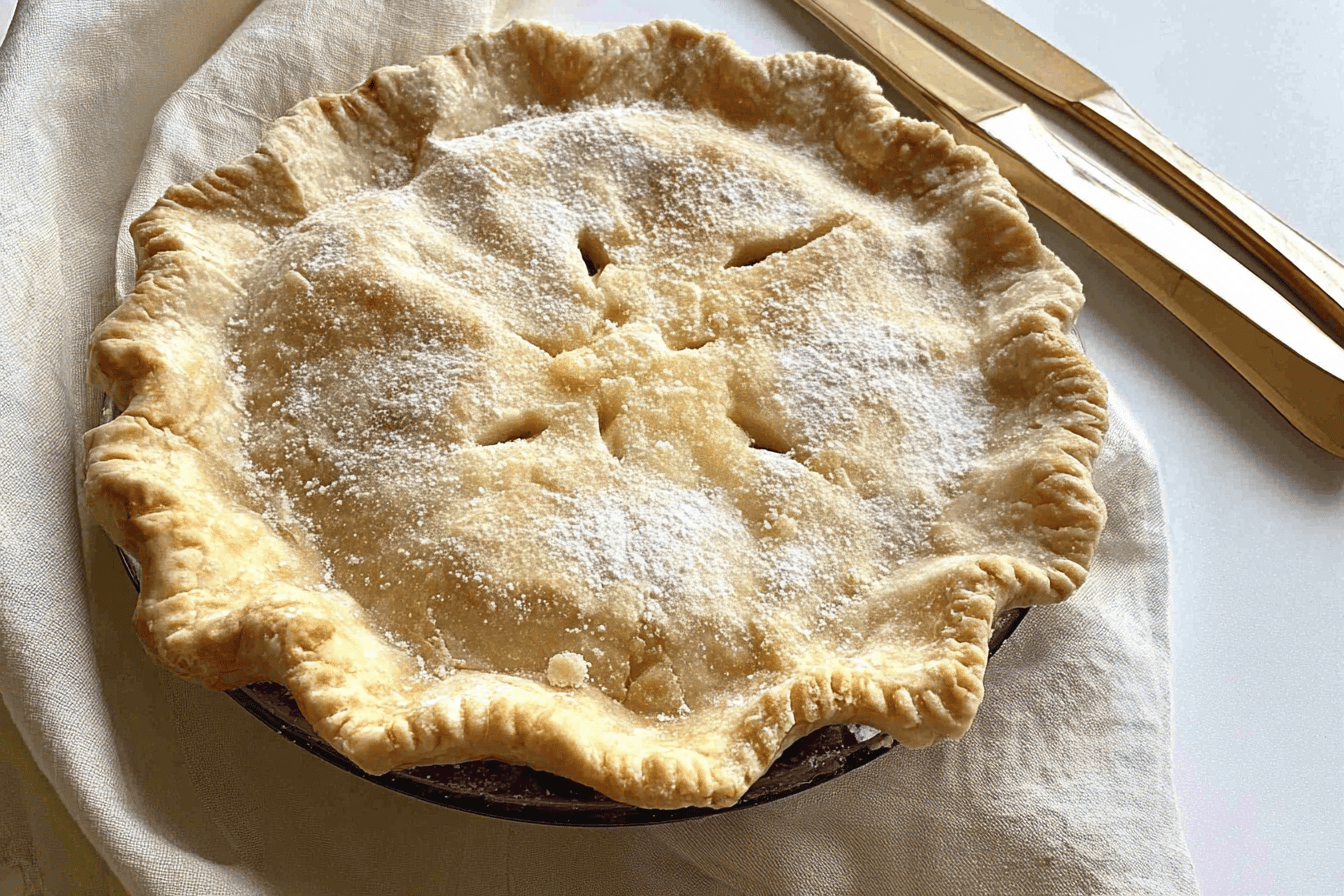
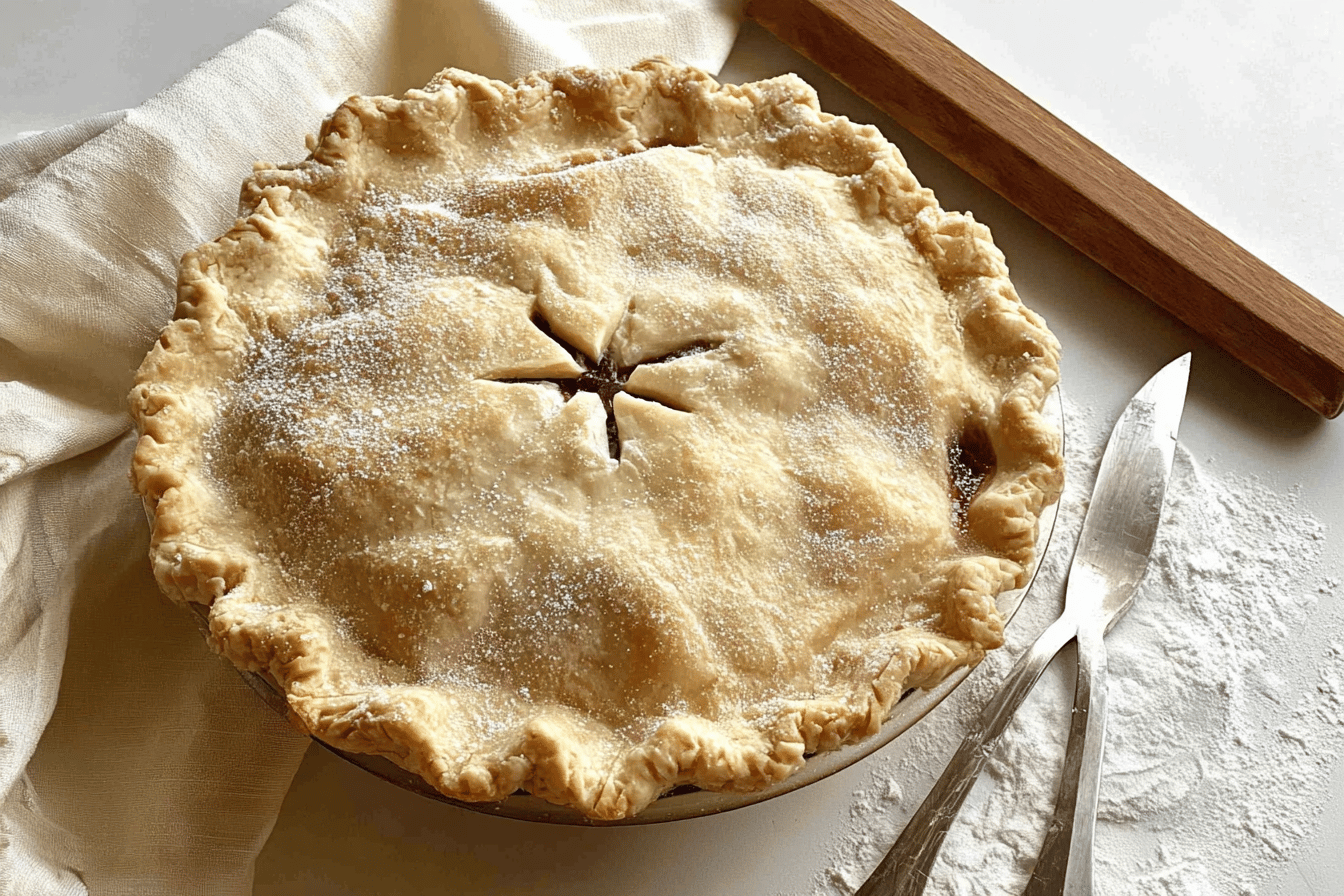
Welcome to the ease of baking with a straightforward recipe for a homemade pie crust that will soon become your go-to favorite! Whether you’re planning to bake a fruit-filled masterpiece, a creamy custard tart, or a savory dish, having an easy and reliable pie crust recipe in your repertoire makes all the difference. This recipe is designed to be foolproof, making it perfect for beginners and experienced bakers alike.
Detailed Ingredients with Measures
All-Purpose Flour
2 ½ cups of all-purpose flour serve as the base for this recipe. The key is ensuring the flour is fresh for the best results.
Unsalted Butter
You’ll need 1 cup of unsalted butter that’s been chilled and diced. The cold butter creates that flaky texture we all love in pie crust.
Salt
1 teaspoon of salt helps enhance the taste of the crust.
Ice Water
Around 6 to 8 tablespoons of ice water is needed to bring the dough together. The cold water prevents the butter from melting and ensures a flaky texture.
Prep Time
This pie crust recipe requires about 20 minutes of preparation time. From combining the ingredients to forming the dough, the steps are quick and straightforward.
Cook Time, Total Time, Yield
Depending on your baking project, the cook time for the crust may vary, particularly if it needs to be blind-baked. However, this recipe stands ready for customization.
In total, this recipe takes approximately 20 minutes of active work and serves as the foundation for pies of all shapes and sizes. It yields enough crust for a double-crust pie or two single-crust pies. This flexibility makes it ideal for various baking needs.
Enjoy the process of creating something from scratch while indulging in the buttery, flaky goodness of this homemade pie crust!
Detailed Directions and Instructions
Step 1: Prepare the Ingredients
Measure out your flour, salt, and sugar into a large mixing bowl. Stir them together until thoroughly combined.
Step 2: Add the Butter
Cut cold unsalted butter into small cubes and add it to the bowl with the dry ingredients. Using a pastry cutter or your fingers, rub the butter into the flour mixture until it resembles coarse crumbs.
Step 3: Add the Ice Water
Gradually mix in cold water, 1 tablespoon at a time. Stir gently with a spatula or wooden spoon after each addition. Stop when the dough just comes together but is not overly wet or sticky.
Step 4: Form the Dough
Lightly flour your hands and the work surface. Gather the dough into one or two balls, depending on your needs. Be gentle, and avoid overworking the dough.
Step 5: Chill the Dough
Wrap the dough ball(s) in plastic wrap and refrigerate for at least 1 hour. This helps the butter solidify again and allows the gluten in the flour to relax.
Step 6: Roll Out the Dough
Unwrap the dough and place it on a lightly floured surface. Roll it out gently with a floured rolling pin, starting from the center and pressing outward. Rotate the dough occasionally to maintain an even shape. Aim for a thickness of approximately 1/8 inch.
Step 7: Transfer to the Pie Dish
Carefully lift the dough and place it into your pie dish, centering it properly. Press the dough gently against the bottom and sides of the dish, allowing any excess to hang over the edges. Trim and crimp the edges as desired.
Step 8: Use or Pre-Bake the Crust
If your recipe calls for a pre-baked crust, prick the bottom and sides of the dough with a fork. Line it with parchment paper and fill it with pie weights or dry beans. Bake according to your recipe’s instructions or at 375°F (190°C) for about 15-20 minutes, or until lightly golden.
Notes
Note 1: Keeping Ingredients Cold
Ensure your butter and water are as cold as possible. This keeps the dough flaky while baking.
Note 2: Avoid Overworking the Dough
Handle the dough delicately to prevent the butter from melting and to avoid developing too much gluten, which can make the crust tough.
Note 3: Adjusting Water
The amount of water may vary slightly depending on the humidity and type of flour used. Add it gradually until the dough holds together.
Note 4: Storing the Dough
You can refrigerate the prepared dough for up to 2 days or freeze it for up to 3 months. If frozen, thaw the dough in the refrigerator overnight before use.
Note 5: Rolling Tip
If the dough becomes too soft or sticky while rolling, return it to the refrigerator for a few minutes to firm up.
Note 6: Choosing Butter
For best results, use high-quality unsalted butter. Salted butter will alter the flavor of the crust.
Cook Techniques
Use Cold Ingredients
Keep butter and water as cold as possible to achieve a flaky crust texture. Cold butter creates small pockets of fat in the dough, which melt during baking and create steam, resulting in a flaky pie crust.
Chill the Dough
After preparing the dough, chill it in the refrigerator before rolling it out. This helps relax the gluten and firms up the butter, making it easier to handle and preventing shrinkage during baking.
Don’t Overmix the Dough
Handle the dough gently and mix just until it comes together. Overmixing can result in a dense, tough crust instead of a tender, flaky one.
Use a Light Touch When Rolling
Roll the dough out gently and evenly, turning it slightly between rolls to maintain a circular shape. Be careful not to work the dough too much to avoid over-developing the gluten.
Prevent Sticking
Sprinkle a small amount of flour onto the rolling surface and rolling pin to prevent the dough from sticking. Alternatively, you can roll the dough between two sheets of parchment paper.
Roll from the Center Outward
Begin rolling the dough from the center toward the edges instead of rolling back and forth. This technique helps maintain even thickness and prevents tears.
Blind Baking
If the recipe requires a pre-baked crust, lightly prick the dough with a fork and use pie weights or dried beans to prevent it from puffing up during baking.
FAQ
Can I use a food processor to make the dough?
Yes, a food processor is a great option for making pie crust. Be cautious not to overmix; pulse the ingredients until they just come together.
How do I prevent my pie crust from shrinking?
Chill the dough thoroughly before baking and avoid stretching it into the pie pan. Allowing the dough to rest helps prevent shrinkage.
Why is my pie crust tough?
A tough crust is usually the result of overmixing or adding too much water. Mix the dough minimally and add water a little at a time until it just comes together.
Can I make the dough ahead of time?
Yes, you can make the dough up to 2-3 days ahead and store it in the refrigerator. Alternatively, freeze it for longer storage, thawing it in the fridge before use.
What can I do if my dough is too sticky?
If the dough feels too sticky, sprinkle a small amount of flour on the dough and rolling surface. Be careful not to add too much flour, as it can make the crust dry.
How thick should I roll out my pie crust?
Roll the pie dough to about 1/8 inch thick for most recipes. This thickness ensures even baking and a sturdy yet tender crust.
How do I repair cracks in the dough?
Patch cracks in the dough by using a small piece of dough, pressing it gently to seal any gaps. Avoid overworking the dough in the process.
Do I need to egg wash the pie crust?
Adding an egg wash to the top of the pie crust is optional, but it enhances the golden color and adds shine during baking.
How long should I let the dough rest?
Let the dough rest for at least 30 minutes in the refrigerator after shaping it into a disk. Resting helps relax the gluten and improves the texture.
“`html
Conclusion
Making your own pie crust at home can be incredibly rewarding, saving you money and allowing you to create a rich and flaky crust for all your pie needs. With this easy recipe, you’ll gain confidence in the kitchen and discover how versatile homemade dough can be. Whether you’re baking sweet or savory pies, this crust is sure to impress your loved ones and elevate your baking game. Give it a try and enjoy the delicious results!
More recipes suggestions and combination
Apple Cinnamon Pie
Use this homemade pie crust to create a classic apple cinnamon pie. The buttery, flaky crust pairs perfectly with the warm and spiced apple filling, making it a comforting dessert for any season.
Chicken Pot Pie
For a savory alternative, transform this crust into a base for a creamy and hearty chicken pot pie. Add your favorite vegetables along with a creamy chicken filling for a satisfying meal.
Chocolate Cream Tart
Pair this crust with a decadent chocolate cream filling. Top it with whipped cream for an indulgent dessert perfect for special occasions.
Quiche Lorraine
Make a delightful brunch item by using this pie crust to bake a classic quiche Lorraine. Fill it with eggs, cheese, bacon, or vegetables for a flavorful dish.
Pumpkin Pie
This homemade pie crust is ideal for a traditional pumpkin pie, especially during the fall season. The balance of spices in the pumpkin filling with the flaky crust will surely make it a favorite.
“`