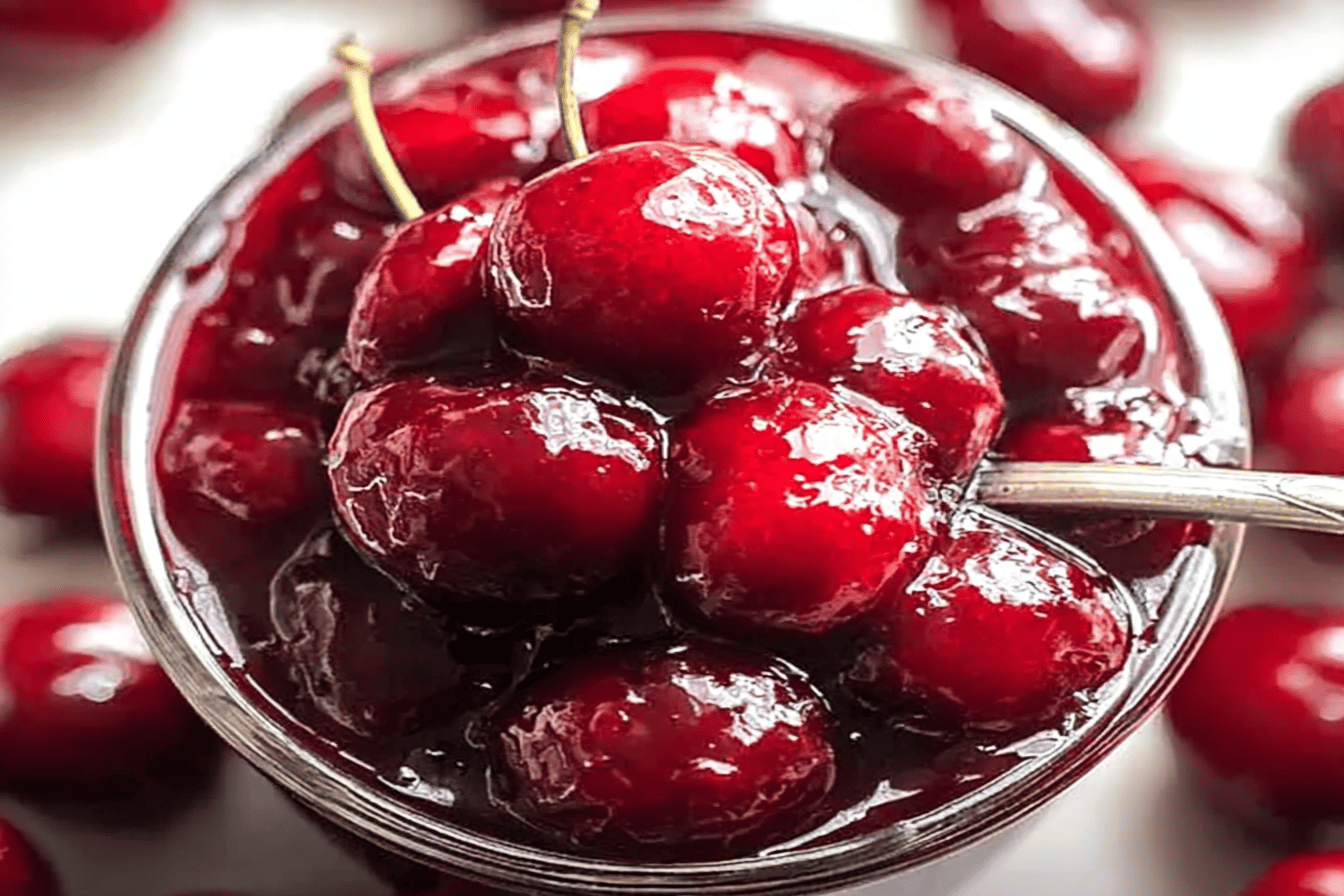
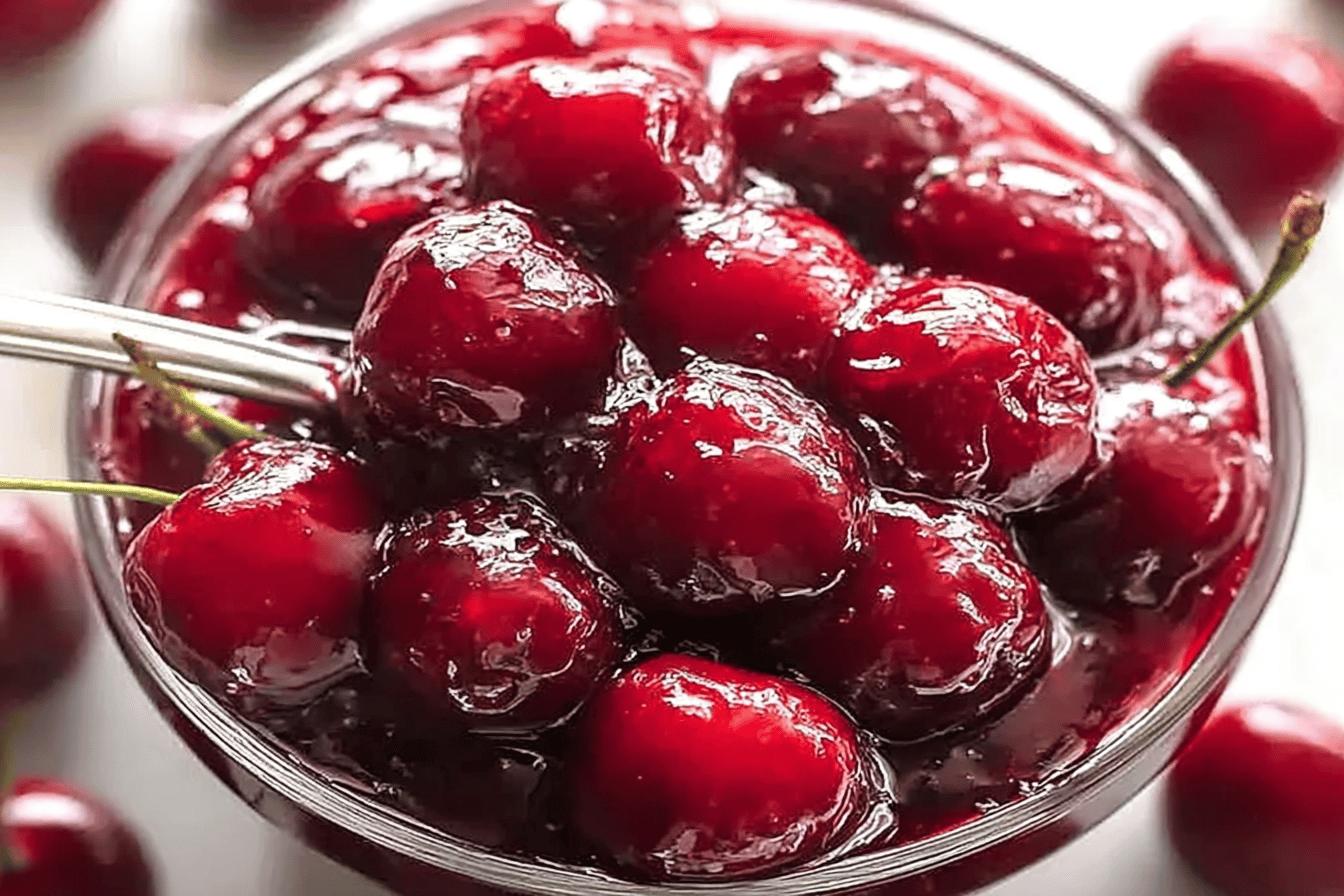
Irresistible Fresh Cherry Jam
“`html
Introduction
Fresh Cherry Jam for Flavor Enthusiasts
Nothing compares to the sweet and tangy taste of fresh cherry jam spread over a warm slice of bread. If you’re a fan of seasonal fruits and simple homemade recipes, this irresistible cherry jam is the perfect treat to make in your kitchen. Packed with the bright, rich flavor of fresh cherries, this recipe is simple yet incredibly rewarding, giving you a luxurious jar of goodness that you can enjoy year-round.
Detailed Ingredients with measures
What You’ll Need
To create this incredible cherry jam, gather these ingredients:
– 2 cups fresh pitted cherries, chopped finely
– 1 cup granulated sugar
– 1 tablespoon freshly squeezed lemon juice
– 1/8 teaspoon almond extract (optional for added flavor)
Prep Time
Your Preparation Steps Simplified
Making cherry jam requires just a bit of preparation. Begin by washing and pitting the cherries. For a more even consistency, it’s helpful to chop the cherries into smaller pieces. If needed, you can also crush them slightly for a smoother texture. Measuring your sugar and juice ahead of time will streamline the process and ensure you have everything ready.
Cook Time, Total Time, Yield
Cooking and Serving Details
Cook Time: Around 20-25 minutes
Total Time: Approximately 30-35 minutes
Yield: About 1 small jar of jam (adjust ingredients to increase yield as desired)
Homemade Cherry Bliss
With just a few simple steps and a bit of patience, you’ll find yourself with a jar of homemade cherry jam that’s brimming with flavors you can’t get in a store-bought version. This recipe is a beautiful way to enjoy the gifts of summer and preserve the taste of freshness for weeks to come.
Flavor It Your Way
For an extra twist, try adding different spices or extracts to your jam, such as vanilla or cinnamon. Don’t hesitate to experiment and make the recipe truly your own!
“`
“`html
Detailed Directions and Instructions
Step 1: Prepare the Cherries
– Wash the fresh cherries thoroughly to remove any debris.
– Pit the cherries using a cherry pitter or a sharp knife. Make sure to remove all the pits completely.
– Once pitted, you may choose to cut the cherries into halves or leave them whole, depending on your texture preference.
Step 2: Set Up the Cooking Process
– Place the prepared cherries in a medium-sized saucepan.
– Add sugar to the cherries in the pan. Stir gently to combine and coat the cherries evenly with sugar.
– Add lemon juice into the mixture. This helps in balancing the sweetness and acts as a natural preservative.
Step 3: Cook the Cherry Mixture
– Turn on the stove and set it on medium heat. Place the saucepan on the burner.
– Stir the cherries occasionally to avoid sticking to the bottom of the pan.
– As the mixture heats, the sugar will dissolve, and the cherries will release their juices.
– Once the mixture begins to boil, reduce the heat to low. Simmer the mixture for approximately 25 to 30 minutes, stirring frequently.
Step 4: Test the Jam’s Consistency
– To check if the jam has reached the desired consistency, place a small dollop of the jam onto a chilled plate.
– Let it cool for a few seconds, then gently touch it with your finger. If it wrinkles slightly when pushed, the jam is ready.
– If it remains runny, continue to simmer for an additional 5 to 10 minutes and test again.
Step 5: Sterilize Jars
– While the jam cooks, sterilize your glass jars. Wash the jars with hot soapy water and rinse thoroughly.
– Place the jars in a pot of boiling water for 10 minutes to ensure they are free from bacteria.
– Allow the jars to air dry on a clean towel.
Step 6: Fill and Seal the Jars
– Once the jam is ready, remove it from heat and let it cool slightly.
– Using a ladle or a funnel to avoid spilling, carefully pour the jam into the sterilized jars, leaving about 1/4 inch of space at the top.
– Wipe the rims of the jars with a clean damp cloth to remove any residue.
– Close the jars tightly with sanitized lids.
Step 7: Preserve the Jam
– To ensure the jam is sealed properly, process the filled jars in a boiling water bath. Submerge the jars carefully and boil them for 10 minutes.
– After processing, remove the jars from the water and place them on a towel or cooling rack. Let them cool completely at room temperature.
– Check for proper seals by pressing the center of the lids. If the lid doesn’t pop back, the jar is sealed correctly.
Step 8: Store and Enjoy
– Once the jars are completely cooled and sealed, store them in a cool, dark place like a pantry.
– Open a jar whenever you’re ready to enjoy the jam. Refrigerate after opening.
Notes
Note 1: Pitting Cherries
If you don’t have a cherry pitter, a small paperclip or a bobby pin can work as an alternative. This makes the process easier without damaging the cherries.
Note 2: Sugar Adjustments
Feel free to adjust the amount of sugar based on the sweetness of the cherries. Some varieties are naturally sweeter, while others may require more sugar.
Note 3: Enhanced Flavor Options
For added flavor, you can stir in a splash of vanilla extract or a pinch of cinnamon during the final stages of cooking.
Note 4: Consistency Preferences
If you prefer a smoother jam, consider blending the mixture slightly with an immersion blender before placing it into jars.
Note 5: Long-Term Storage
Properly sealed and stored, the jam can last up to one year in a pantry. Always label jars with the date of preparation for reference.
Note 6: Allergies and Substitutions
Lemon juice can be substituted with lime juice if desired. However, avoid using bottled lemon juice, as it may contain preservatives that alter the taste.
“`
Cook Techniques
Selecting the Freshest Cherries
To ensure maximum flavor, always use fresh, ripe cherries. Look for cherries that are plump and firm, with bright, vibrant colors. Avoid any cherries with blemishes or soft spots.
Proper Chopping for Jam
Chop your cherries into small, even pieces. Uniform chopping ensures the fruit cooks evenly and integrates well into the jam consistency.
Adjusting Sugar Levels
The amount of sugar can be adjusted based on the sweetness of your cherries. Taste your cherries beforehand to determine if you need less or more sugar.
Using Pectin
Pectin helps provide the perfect jam consistency. While cherries naturally have some pectin, adding it during cooking helps thicken the jam more effectively.
Skimming Foam
While cooking, foam might rise to the surface. Skim off any foam using a spoon to keep the jam looking smooth and polished.
Sterilizing Jars
Before transferring jam into jars, sterilize them properly by boiling them in water for 10 minutes. This ensures your jam stays fresh and safe for longer periods.
Sealing the Jars
Once your jam is poured into sterilized jars, seal them tightly while the jam is still hot. This creates a vacuum seal, preserving the jam’s flavor and shelf life.
FAQ
Can I use frozen cherries instead of fresh ones?
Yes, you can use frozen cherries when fresh ones aren’t in season. Ensure they are thawed and drained before beginning the jam-making process.
How long does fresh cherry jam last?
If stored properly in sterilized and sealed jars, cherry jam can last up to one year in a cool, dark place.
What can I use as a substitute for pectin?
You can use lemon juice as a natural substitute for pectin, as it helps to thicken the jam.
Why does my jam appear too runny?
This can happen if the jam wasn’t cooked long enough or if the pectin and sugar ratios weren’t balanced. Try cooking the jam slightly longer to achieve the desired consistency.
Do I need to refrigerate the jam after opening?
Yes, once opened, cherry jam should be stored in the refrigerator and consumed within 2-3 weeks.
Can I reduce the sugar content?
Yes, you can reduce the sugar content. However, keep in mind that sugar also acts as a preservative, so lower sugar levels might shorten the jam’s shelf life.
Can I add other fruits to this recipe?
Absolutely! Combining cherries with strawberries, raspberries, or blueberries can create interesting flavor profiles. Just adjust the sugar and pectin accordingly.
Conclusion
This fresh cherry jam recipe is a simple yet flavorful delight for cherry lovers. Homemade jam captures the essence of ripe cherries and turns them into something truly special, perfect for spreading on toast or pairing with desserts. Whether you are new to jam-making or a seasoned cook, this recipe will surely become a favorite in your kitchen.
More recipes suggestions and combination
Strawberry and Rhubarb Jam
For a tangy twist, try combining juicy strawberries with rhubarb to create a jam that balances sweetness with a slight tartness.
Peach and Vanilla Preserves
Infuse ripe peaches with a hint of vanilla for a flavorful preserve that pairs wonderfully with pancakes or yogurt.
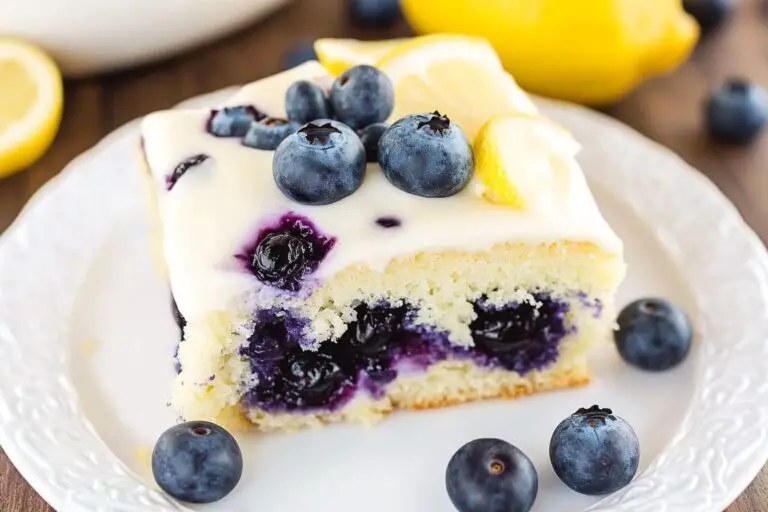
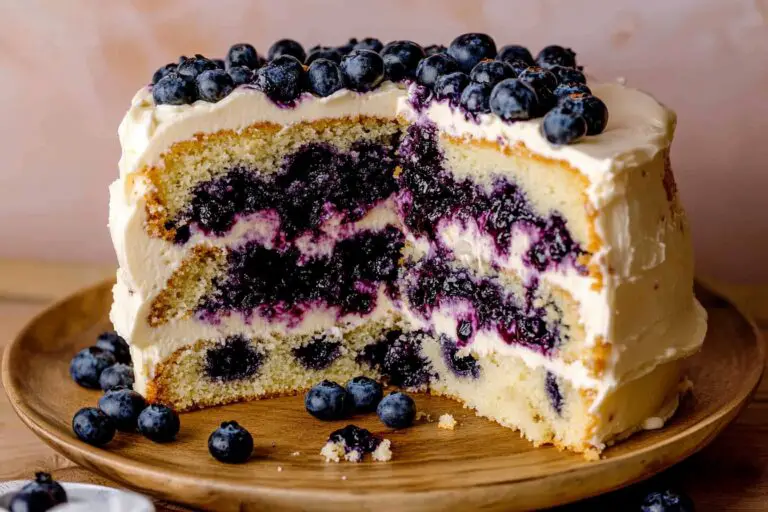
Blueberry Lemon Jam
Mix fresh blueberries with a touch of lemon zest and juice for a bright and citrusy jam perfect for scones or muffins.
Apricot and Ginger Jam
Add a warming hint of ginger to sweet, ripe apricots to create a unique and aromatic jam.
Plum and Cinnamon Jam
Combine the deep flavor of plums with a sprinkle of cinnamon for a comforting and seasonal treat.