Persimmon Jam Recipe
Introduction
Recipe and More
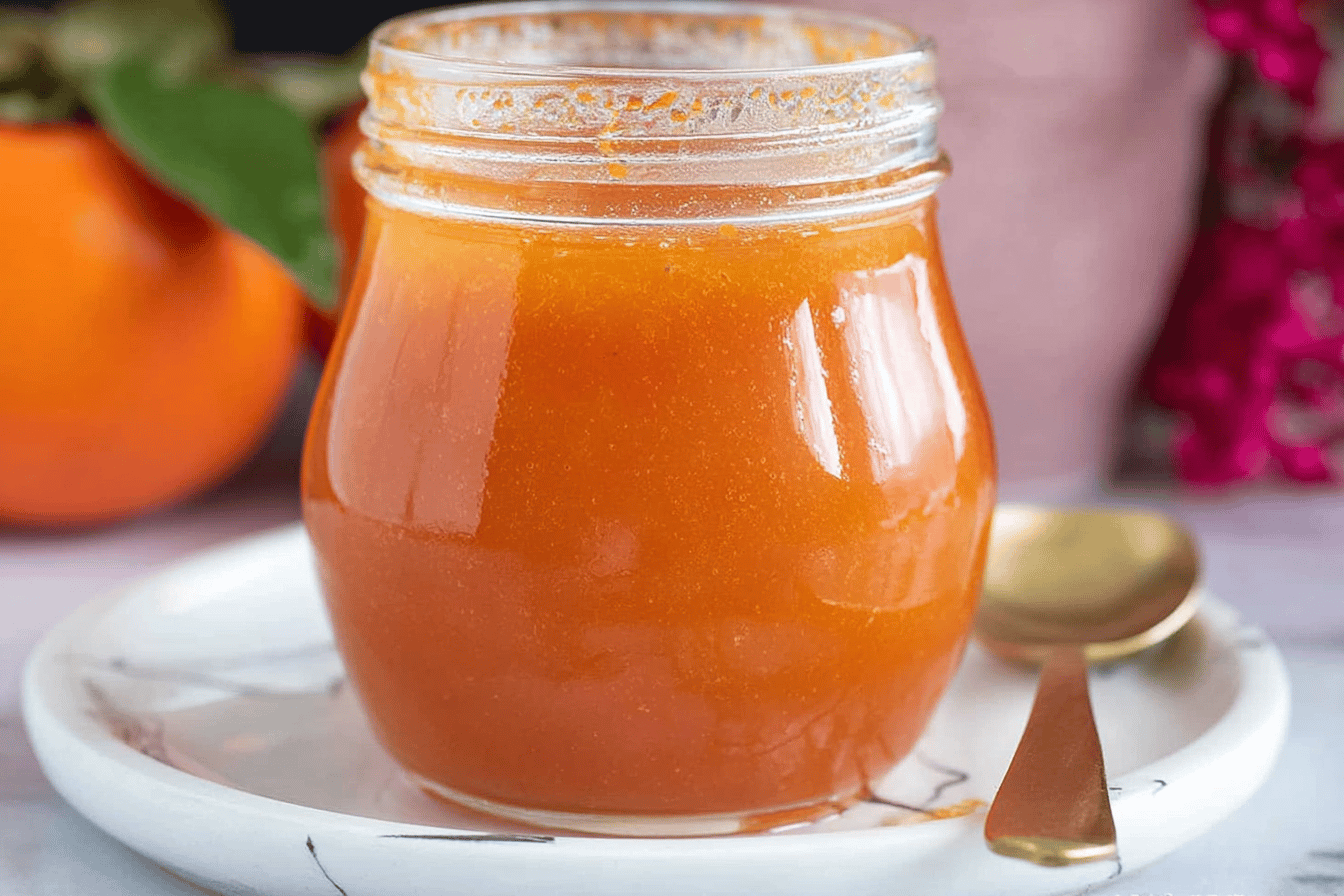
Persimmons are nature’s sweetest gifts during the colder months, and what better way to preserve their unique flavor than making persimmon jam? This delightful recipe highlights the natural richness and versatility of this fruit. Whether spread on warm toast, dolloped onto yogurt, or enjoyed right out of the jar, persimmon jam adds a fruity warmth to your meals. Let’s dive into how you can prepare this irresistible treat.
Detailed Ingredients with Measures
Recipe and More
To make this delicious persimmon jam, you will need:
– 4 cups of ripe persimmon flesh
– 2 cups of granulated sugar
– Juice of 1 lemon
These simple ingredients bring together an effortless blend of sweetness, citrus tang, and the distinctive flavor of persimmons.
Prep Time
Recipe and More
Preparing persimmon jam is a straightforward process, and the prep time allows you to focus on readying your ingredients. Peel the persimmons, remove their seeds, and measure out the required fruit pulp.
Cook Time, Total Time, Yield
Recipe and More
The cook time for this recipe is typically around 15 to 20 minutes, depending on the ripeness of your persimmons and desired consistency of the jam. Including preparation, the total time to make this jam is about 50 minutes. With this recipe, you’ll yield approximately 2 cups of flavorful persimmon jam, perfect for storing or gifting to friends and family.
Turn your fresh persimmons into sunshiny jars of joy with this simple jam recipe!
“`html
Detailed Directions and Instructions
Step 1: Prepare the Persimmons
Peel the persimmons carefully, ensuring that the skin is fully removed. Remove the pits if necessary, and chop the fruit into small chunks for easier cooking.
Step 2: Combine Ingredients
In a large, heavy-based saucepan, place the chopped persimmons, sugar, and lemon juice. Stir the mixture well to combine the ingredients.
Step 3: Cook the Mixture
Place the saucepan over medium heat and bring the mixture to a boil while stirring frequently. Reduce the heat to low once it reaches boiling point, and allow the jam to simmer gently.
Step 4: Stir Regularly
Continue simmering the mixture for 25-30 minutes, stirring regularly to ensure that it does not stick or burn at the bottom of the pan.
Step 5: Check the Consistency
As the cooking time nears completion, check the jam for the desired consistency by dropping a small amount onto a cold plate. If it thickens and forms a gel-like consistency, it is ready.
Step 6: Blend the Mixture (Optional)
For a smoother jam, use an immersion blender to blend the mixture to your desired texture. This step is optional and depends on your preference.
Step 7: Final Boil
Bring the mixture back to the boil for one final minute to ensure it is ready for preserving.
Step 8: Sterilize the Jars
While the jam is cooking, sterilize the jars by washing them thoroughly and placing them in a preheated oven at 110 degrees Celsius (230 degrees Fahrenheit) for 15 minutes.
Step 9: Fill the Jars
Once the jam is cooked and the jars are sterilized, carefully ladle the hot persimmon jam into the hot jars. Leave a small gap at the top of the jar to allow for expansion.
Step 10: Seal and Cool
Seal the jars tightly with their lids and set them aside to cool at room temperature. Avoid disturbing the jars while they cool to allow the vacuum seal to form.
Notes
Note 1: Choosing Persimmons
Make sure to use ripe, soft persimmons for the best results. Firm or unripe fruit may result in astringent-tasting jam.
Note 2: Adjusting Sweetness
You can adjust the sugar quantity depending on the sweetness of the persimmons and your personal taste preferences.
Note 3: Lemon Juice Importance
The lemon juice is crucial as it helps the jam to set and acts as a natural preservative.
Note 4: Storage Instructions
Store the sealed jars in a cool, dark place for up to 12 months. Once opened, refrigerate the jam and use it within a month.
Note 5: Consistency Preference
If you prefer a chunkier texture, skip the blending step and leave the persimmon pieces intact.
Note 6: Alternative Sterilization Method
If preferred, you can sterilize jars by boiling them in water for 10 minutes instead of using the oven.
Note 7: Testing the Gel Stage
Chill a small plate in the freezer beforehand to test the gel stage of the jam easily.
Note 8: Safety Precaution
Be careful when handling the hot liquid and jars to avoid burns or spills.
“`
Cook Techniques
Using ripe persimmons
Ensure you use ripe, soft persimmons for the jam. Unripe persimmons will not have the required sweetness and may be too firm for the recipe.
Peeling the persimmons
Peel the persimmons carefully before mashing them. The skin can be tough and will affect the texture of the jam.
Mashing the fruit
Mash the persimmons well to achieve a smooth consistency. You may use a fork or potato masher for this process.
Adjusting the sweetness
Taste the jam mixture before cooking. If the persimmons are particularly sweet, you might reduce the amount of added sugar slightly.
Cooking on low heat
Simmer the mixture on low heat while stirring frequently to prevent burning and achieve a thickened texture.
Using sterilized jars
Always use sterilized jars for storing homemade jam. This ensures proper preservation and avoids contamination.
FAQ
Can I use unripe persimmons?
It is best to use ripe, soft persimmons for this recipe as unripe fruit lacks the necessary sweetness and may be too firm.
How do I know if my persimmons are ripe?
Ripe persimmons are soft to the touch and can sometimes appear slightly wrinkled. Their flesh should feel tender when pressed.
Can I add spices to this recipe?
Yes, you can customize the jam by adding spices like cinnamon or nutmeg to enhance the flavor.
How long does the persimmon jam last?
If stored in sterilized, airtight jars in the refrigerator, persimmon jam can last up to a few weeks.
Can I freeze persimmon jam?
Yes, you can freeze the jam in freezer-safe containers for extended preservation. Make sure to leave some space at the top of the container for expansion.
Conclusion
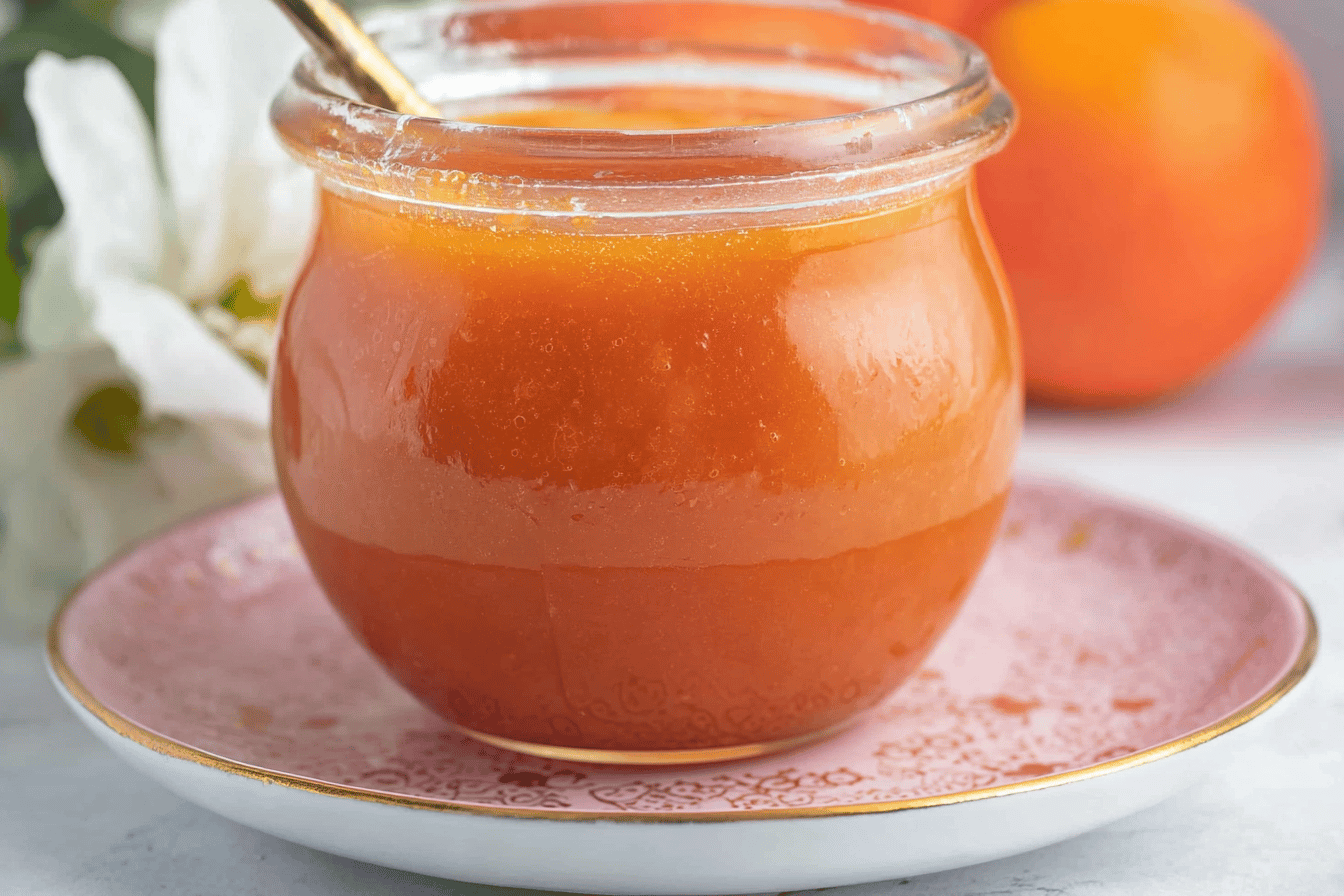
Persimmon Jam is a delightful way to enjoy the flavor of this unique fruit throughout the year. With its vibrant color and rich taste, it is a versatile addition to your kitchen. Whether spread on toast, swirled into yogurt, or used as a glaze, this homemade jam is sure to be a favorite. Make a batch today and savor the sweet taste of persimmons in every spoonful!
More recipes suggestions and combination
Homemade Fig Jam
Another simple jam idea that highlights the sweet and rich flavors of figs, perfect for spreading or pairing with cheese.
Berry Compote
A mix of fresh berries cooked down to create a sauce that’s ideal for desserts, breakfast toppings, or even a tasty addition to ice cream.
Lemon Curd
This zesty and creamy preserve makes for a perfect tangy spread or a wonderful recipe ingredient for pastries and desserts.
Peach Chutney
A sweet and savory addition that complements roasted meats, grilled dishes, or cheese platters.
Apricot Jam
Savor the taste of summer with this bright and luscious jam, a perfect partner for morning toasts and baked goods.