Reese’s Cheesecake: A Perfect Blend of Chocolate and Cream
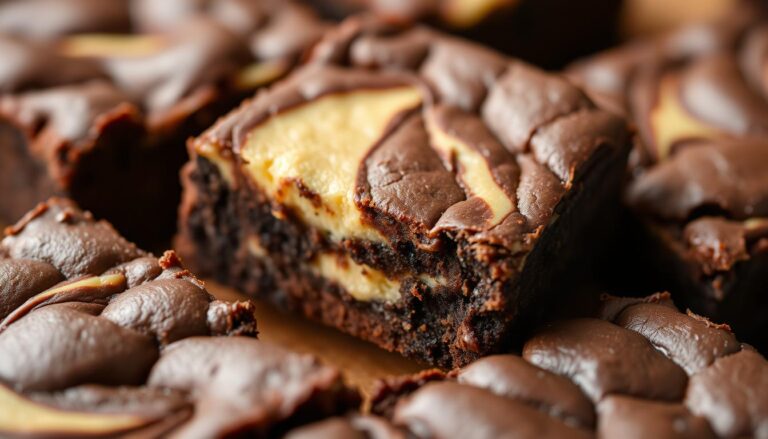
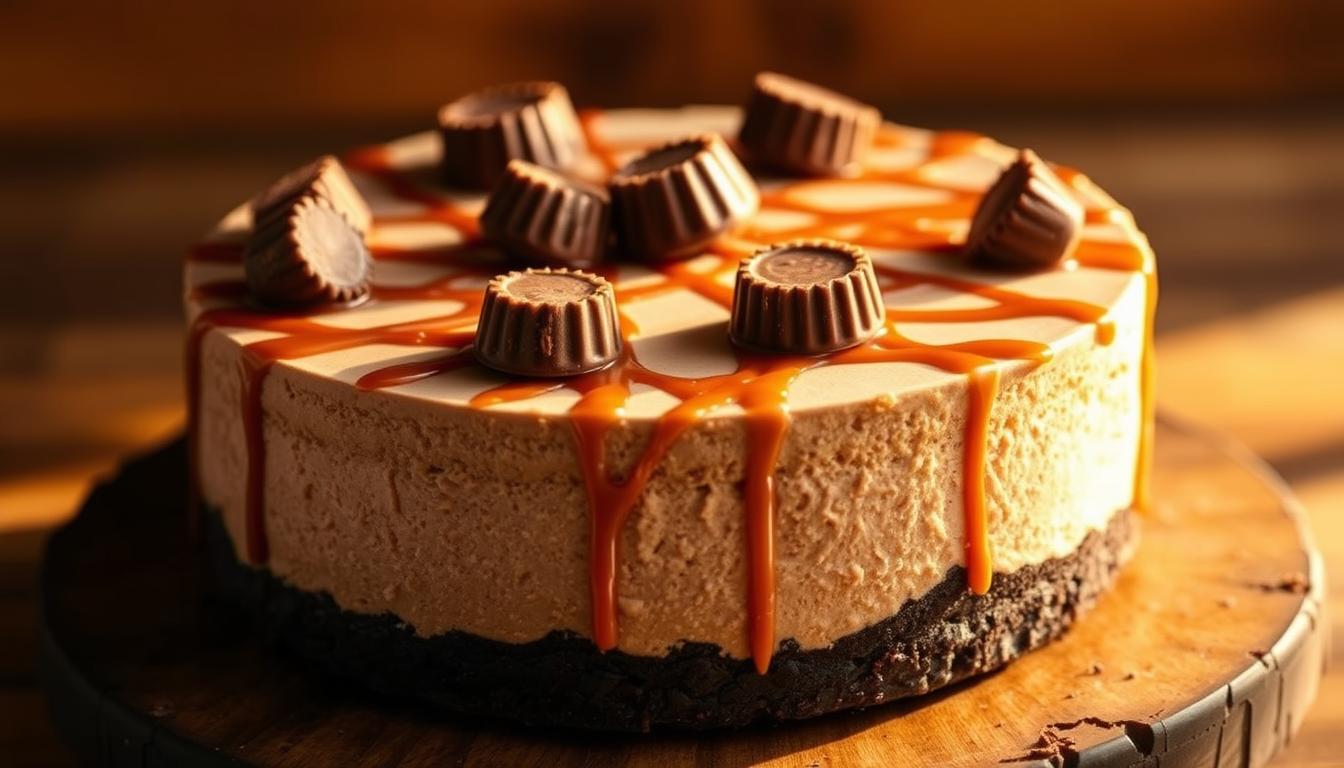
Craving a dessert that combines rich chocolate and creamy peanut butter? Look no further. This showstopping Reese’s Cheesecake layers a fudgy brownie crust, velvety peanut butter filling, and glossy chocolate ganache for a treat that’s impossible to resist. Every bite balances sweet and salty flavors, making it ideal for holidays, parties, or casual cravings.
You don’t need fancy ingredients to create this crowd-pleaser. Pantry staples like peanut butter cups, cream cheese, and cocoa powder form the foundation. The recipe is freezer-friendly, so you can prepare it days ahead—perfect for busy hosts. Whether you’re celebrating or simply indulging, this dessert delivers restaurant-quality results with minimal effort.
Top chefs agree: the secret lies in the layers. A chewy brownie base supports the smooth peanut butter filling, while chopped butter cups add crunch. The final chocolate topping ties everything together, creating harmony in every slice. Ready to impress? Let’s dive into the details.
Key Takeaways
- Three irresistible layers: brownie crust, peanut butter filling, and chocolate ganache.
- Uses simple ingredients like cream cheese and peanut butter cups.
- Perfect for holidays, parties, or everyday treats.
- Balances sweet and salty flavors for a memorable dessert.
- Freezer-friendly and easy to prepare ahead of time.
Recipe Overview and Inspiration
There’s magic in pairing chocolate’s richness with peanut butter’s salty-sweet kick—a duo that turns desserts into legends. This recipe layers textures and flavors for a creamy peanut butter experience that feels both nostalgic and fresh.
Delicious Chocolate and Peanut Butter Combination
Why does this pairing work? Chocolate’s bitterness balances peanut butter’s sweetness, creating harmony. A springform pan ensures clean slices, letting each layer shine. Full-fat cream cheese is non-negotiable—it gives the cheesecake filling its velvety body.
Use a stand mixer to blend ingredients smoothly. Overmixing introduces air bubbles, which can crack the surface. Make sure everything sits at room temperature first. Cold cream cheese or eggs? You’ll get lumps.
Why You’ll Love This Dessert
Fans rave about the chopped butter cup garnish: “It adds crunch and nostalgia.” The heavy cream-based ganache pours like silk, sealing the layers. Plus, freezing options mean stress-free prep for parties.
Inspired by holiday favorites, this cheesecake turns simple ingredients into elegance. As one baker noted, “It’s the dessert people remember—and beg you to bring again.”
Essential Equipment and Key Ingredients
Great desserts start with the right tools and quality components. This cheesecake’s success depends on precise equipment choices and ingredient selection—cutting corners here risks texture issues or flavor imbalance.
Must-Have Tools and Pan Recommendations
Your toolkit matters. A 9-inch springform pan is non-negotiable—its removable sides ensure clean slices without crumbling. Pair it with a stand mixer to whip the filling into velvety perfection. Hand mixers work, but they’re more likely to overmix.
Don’t overlook measuring cups and bowls. Even slight imbalances in butter or cream cheese quantities affect consistency. A food processor helps crush cookies evenly for alternative crusts.
Ingredient Insights: Cream Cheese, Peanut Butter, and More
Full-fat cream cheese is the backbone of your filling—low-fat versions create a grainy texture. For natural peanut butter, stir it thoroughly before measuring to distribute oils. Avoid brands with added sugars; they overpower the chocolate.
Semi-sweet chocolate chips melt smoothly for ganache, while room-temperature eggs blend seamlessly into the batter. Pro tip: Set ingredients out ahead time (1-2 hours) to prevent lumps and ensure even mixing.
Breaking Down the Recipe Layers
Layering transforms good desserts into masterpieces. This treat’s success hinges on three distinct tiers working in harmony. Let’s explore how each component builds flavor and texture.
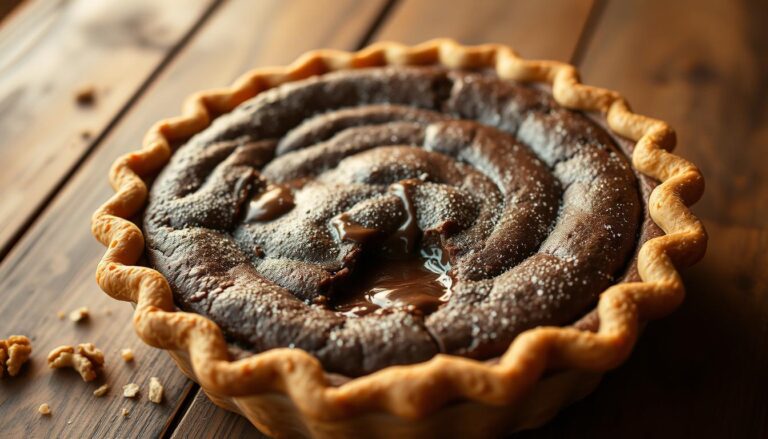
Brownie Crust: A Rich Base
Start with a brownie mix for foolproof results. Blend it with eggs, oil, and water until thick. Press the batter into a 9-inch pan lined with parchment. Bake until firm—this foundation supports the creamy layers above.
Pro tip: Let the crust cool completely. Warm bases melt the cream cheese filling, causing sogginess. For extra crunch, mix crushed cookies into the batter.
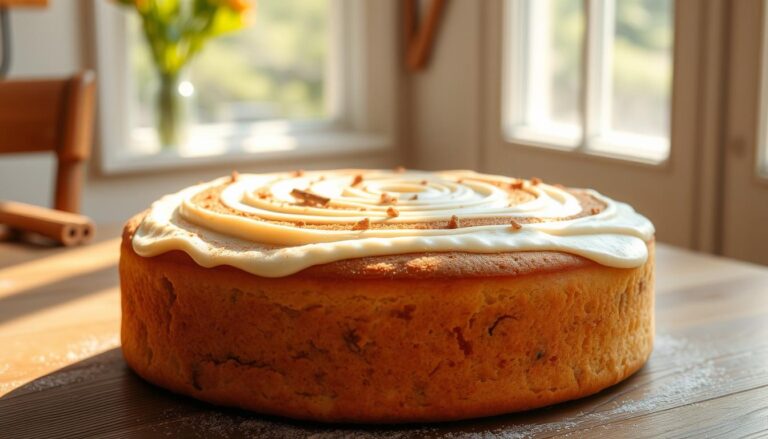
Creamy Cheesecake Filling Details
Beat cream cheese and peanut butter until silky. Gradually add sugar, then heavy cream for airy lightness. Room-temperature ingredients prevent lumps. Fold in chopped peanut butter cups for surprise bites.
Pour the filling over the cooled crust. Smooth the top with a spatula. Chill for 1 hour before adding ganache—this sets the structure.
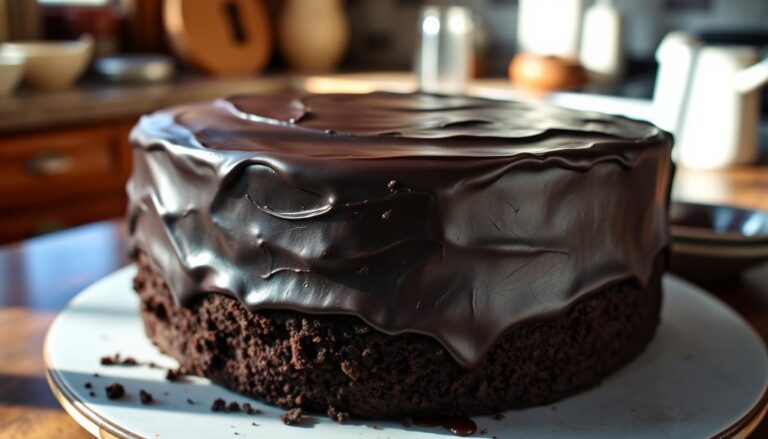
Chocolate Ganache and Topping Options
Heat heavy cream until steaming. Pour it over semi-sweet chocolate chips. Stir slowly for glossy ganache. Drizzle it over the chilled filling, letting it cascade down the sides.
Top with quartered peanut butter cups or sea salt flakes. The layers shine when sliced: chewy crust, velvety center, decadent finish. Every forkful delivers balanced sweetness.
Step-by-Step Baking and Assembly Guide
Precision meets creativity in this dessert’s assembly. Follow these techniques to lock in flavors and textures.
Mixing Techniques and Temperature Tips
Preheat your oven to 325°F. Combine brownie mix with eggs and oil in a bowl using medium speed on your stand mixer. Bake the crust 35 minutes until firm. Cool completely before adding filling.
Blend cream cheese and peanut butter at room temperature. Add sugar gradually to avoid graininess. Scrape the bowl sides often for even mixing. Overbeating causes air pockets—stop when smooth.
Water Bath and Chilling Process
Wrap your springform pan in foil. Place it in a roasting pan filled with 1″ hot water. Bake 55 minutes until edges set but center jiggles slightly. This gentle heat prevents cracks.
Cool at room temperature 1 hour. Refrigerate 4 hours minimum—overnight is better. The chocolate ganache needs 30 minutes to set before serving. Timing matters: rushing creates messy slices.
Pro Tips and Troubleshooting for reeses-cheesecake
Mastering the perfect texture while avoiding cracks requires precision. A few simple adjustments can turn frustration into flawless results every time. Let’s break down the most common challenges—and how to solve them.
Preventing Cracks and Overmixing
Room-temperature ingredients are non-negotiable. Cold cream cheese creates lumps, forcing you to overmix. Use a stand mixer on low speed—high settings trap air bubbles that rise and crack the surface. “Patience is key,” says pastry chef Lisa Monroe. “Stop blending once the filling looks smooth, even if it takes longer.”
Wrap your springform pan tightly with foil before the water bath. Steam seeping in causes uneven baking. When removing the cheesecake from the oven, let it cool inside for 30 minutes. Sudden temperature changes are the #1 cause of splits.
Achieving the Perfect Texture and Flavor
Underbaking slightly ensures creaminess. The center should jiggle like Jell-O when shaken gently. For silky ganache, heat chocolate chips with heavy cream until just melted—overheating makes it grainy.
Chill the dessert at least 4 hours, but overnight is better. Rushing this step leads to messy slices. Top with extra peanut butter cups right before serving to maintain crunch. Follow this recipe closely, and you’ll nail that bakery-quality finish every time.
Variations, Customizations, and Serving Suggestions
Transform your dessert game with endless ways to personalize this crowd-pleasing treat. Whether you’re short on time or craving creative flair, these tweaks let you adapt the recipe without losing its soul.

No-Bake Alternatives and Crust Options
Skip the oven with a no-bake version. Swap the brownie base for crushed Oreos or graham crackers mixed with melted butter. Press it into the bottom of your pan and chill—no baking required. For gluten-free diets, try almond flour crusts.
Prefer nutty flavors? Mix crushed pretzels into the crust. One reviewer raved: “The salty crunch took it to another level!”
Garnishing Ideas and Creative Twists
Drizzle extra ganache over the top or pipe vanilla-infused whipped cream along the sides. Add texture with chopped peanut butter cups or caramelized nuts. For holidays, dust cocoa powder through stencils for festive designs.
Serve slices on a smear of fudge sauce or sprinkle sea salt flakes for contrast. Want drama? Layer toppings on the bottom of each plate before plating. These tweaks turn everyday desserts into Instagram stars.
“Experiment, but keep the peanut butter-chocolate balance,” advises baker Jamie Chen. “That’s what makes it unforgettable.”
Conclusion
Crafting an unforgettable dessert starts with quality ingredients and patience. This layered masterpiece hinges on three pillars: a chewy brownie base, velvety peanut butter filling, and glossy chocolate ganache. Each component relies on precision—like using full-fat cream cheese for richness and ensuring every mixture reaches room temperature to blend smoothly.
Success lies in the details. Letting the crust cool completely prevents sogginess, while gradual mixing avoids air bubbles. The final chill transforms the food from liquid to sliceable perfection. Remember, high-fat ingredients like heavy cream and natural peanut butter create that indulgent texture everyone craves.
Ready to shine? Follow the steps, embrace the process, and watch your dessert become the star of any gathering. Experiment with toppings or crust variations to make it uniquely yours. After all, great baking isn’t just about following a recipe—it’s about creating moments worth savoring.
Grab your tools, preheat the oven, and let your skills take center stage. One bite of this balanced treat, and you’ll see why attention to detail makes all the difference.
FAQ
Can I use natural peanut butter instead of regular creamy peanut butter?
Yes, but natural peanut butter may separate or alter the texture. For best results, stick with stabilized creamy peanut butter to ensure a smooth, rich filling.
Do I need a springform pan for this recipe?
A springform pan is recommended for easy removal. If unavailable, line a regular cake pan with parchment paper, but slicing neatly will be harder.
How do I prevent cracks in the cheesecake filling?
Avoid overmixing the batter, use room-temperature cream cheese, and bake in a water bath. Let the cheesecake cool gradually in the oven with the door slightly open.
Can I make this dessert ahead of time?
Yes! Chill it for up to 3 days. The flavors deepen, and the texture stays creamy. Add toppings like ganache or peanut butter cups just before serving.
What’s a quick no-bake alternative for the crust?
Swap the brownie base for a premade chocolate cookie crust. Press it into the pan, chill, then layer with the cheesecake filling and refrigerate for 4 hours.
Can I freeze leftover cheesecake?
Absolutely. Wrap slices tightly in plastic and freeze for up to 2 months. Thaw overnight in the fridge for the best texture.
What if I don’t have heavy cream for the ganache?
Substitute full-fat coconut cream or a mix of milk and butter. The ganache will still set but may taste slightly different.
Can I skip the chocolate ganache topping?
Yes! Drizzle melted peanut butter cups or add crushed peanuts for a crunchy finish. Customize with your favorite chocolate or caramel sauces.