Strawberry Danish Pastry
Introduction
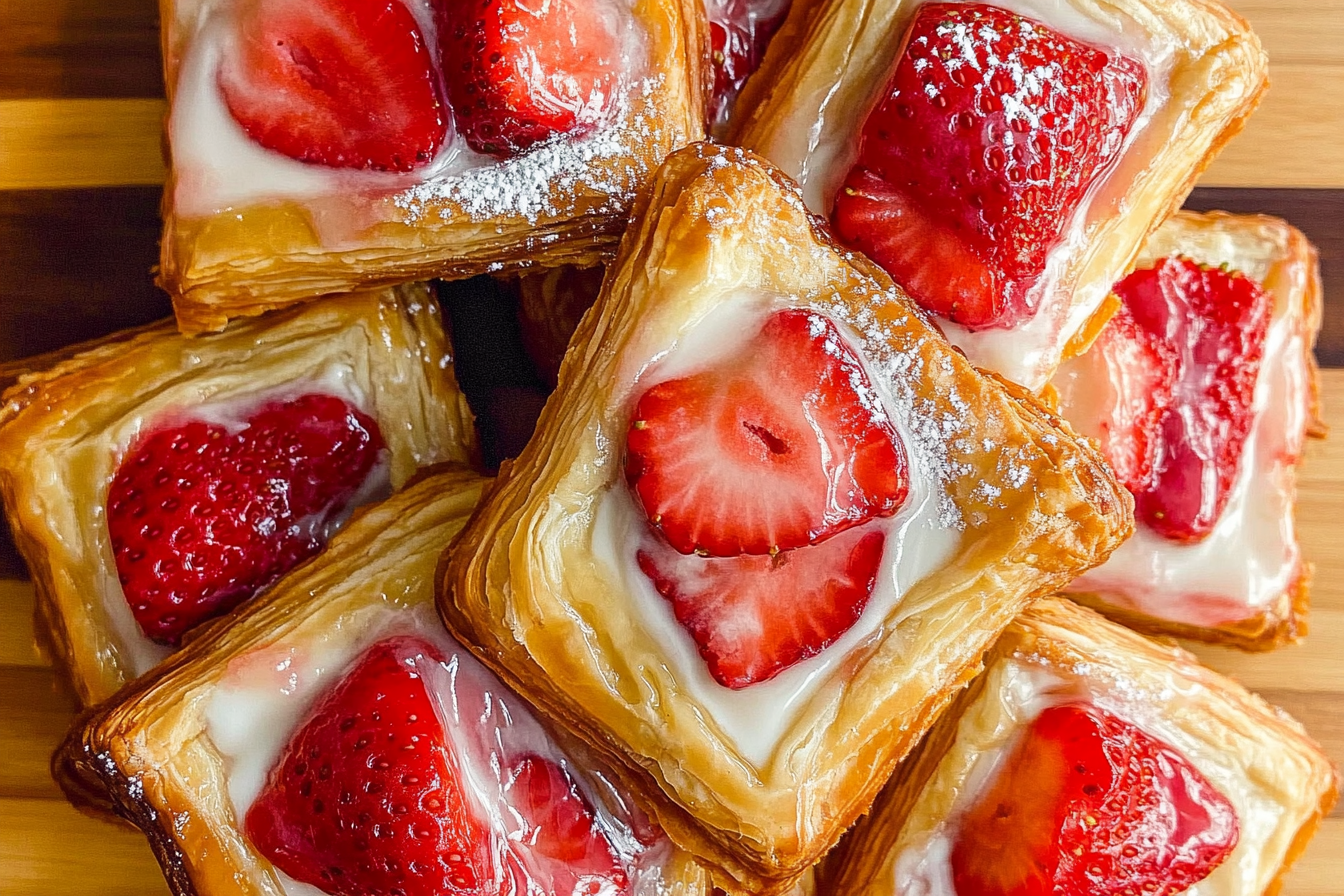
Indulge in the delightful experience of baking a Strawberry Danish, a perfect treat for breakfast or dessert. This flaky pastry, filled with sweet strawberries and creamy cheese, offers a delightful balance of flavors and textures. With a golden-brown exterior and an irresistible filling, it is sure to impress your family and friends.
Detailed Ingredients with measures
– Puff pastry (1 package, thawed)
– Fresh strawberries (2 cups, sliced)
– Cream cheese (4 oz, softened)
– Granulated sugar (1/4 cup)
– Vanilla extract (1 tsp)
– Egg (1, beaten for egg wash)
– Powdered sugar (for dusting, optional)
Prep Time
25 minutes
Cook Time, Total Time, Yield
Cook Time: 25 minutes
Total Time: 50 minutes
Yield: 8 servings

Detailed Directions and Instructions
Prepare the Dough
Start by rolling out the puff pastry on a lightly floured surface to ensure it’s smooth and even. Cut the dough into squares measuring 4×4 inches.
Create the Filling
In a mixing bowl, combine the cream cheese with sugar, vanilla extract, and lemon zest until smooth. This mixture will serve as the base for the filling.
Assemble the Danish
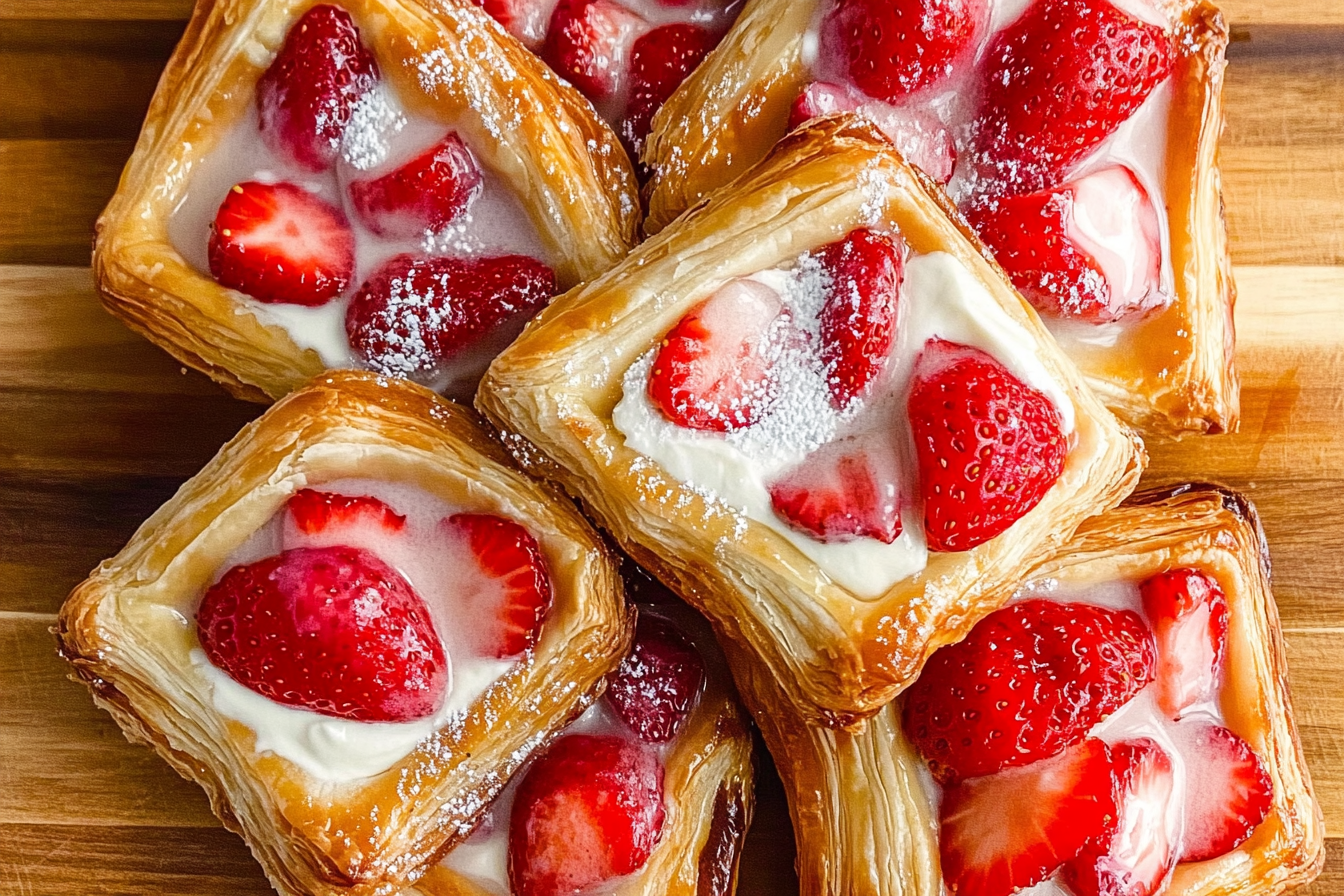
Place a spoonful of the cream cheese filling in the center of each puff pastry square. Top the filling with fresh strawberries, arranged as desired.
Fold and Seal
Fold the corners of the puff pastry towards the center to create a pinwheel effect, sealing the edges by pinching them together. This will hold the filling inside during baking.
Brush with Egg Wash
In a small bowl, whisk together the egg and a tablespoon of water to create an egg wash. Brush the mixture over the top of each Danish to give it a golden color when baked.
Bake the Danish
Preheat the oven to 400°F (200°C). Place the assembled danishes on a parchment-lined baking sheet. Bake for 15-20 minutes, or until they are puffed and golden brown.
Cool and Serve
Once baked, remove the danishes from the oven and let them cool on a wire rack. Serve warm or at room temperature for the best flavor.
Notes
Storage Instructions
Store any leftover danishes in an airtight container in the refrigerator for up to three days.
Serving Suggestions
These danishes are best served fresh but can be paired with a dusting of powdered sugar or a drizzle of glaze for added sweetness.
Variations
Consider using other fruits such as blueberries or raspberries instead of strawberries for different flavor profiles.
Allergen Information
This recipe contains dairy and gluten, so be sure to substitute the ingredients accordingly if serving those with dietary restrictions.

Cook techniques
Making the Dough
The dough for the Danish pastry is made using a combination of flour, yeast, sugar, salt, butter, and milk. It requires proper mixing and kneading to develop the gluten structure for a flaky texture.
Laminate the Dough
Laminate the dough by folding in layers of butter. This technique is essential for creating the flaky layers typical of Danish pastries. Roll the dough out, place the butter in the center, and fold in thirds to encase the butter.
Resting the Dough
Resting the dough in the refrigerator is crucial after lamination. This allows the gluten to relax and the butter to firm up, which helps in achieving the desired flaky texture when baked.
Shaping the Danish
To shape the Danish, roll out the laminated dough and cut it into squares. Then create a well in the center for the filling, folding the corners toward the middle, and pinching them to seal.
Baking the Danish
Preheat the oven and bake the Danish until golden and puffed. The right temperature and timing ensure a crispy exterior and soft interior.
FAQ
Can I use store-bought puff pastry instead of making the dough from scratch?
Yes, using store-bought puff pastry can save time. Just make sure to follow similar shaping and baking instructions.
How do I know when the Danish is done baking?
The Danish is done when it is golden brown and has puffed up. The internal temperature should reach around 190°F (88°C).
Can I freeze the Danish pastry before baking?
Yes, you can freeze the shaped Danish before baking. Just make sure to wrap them well to prevent freezer burn, and bake them directly from frozen, adding a few extra minutes to the baking time.
What types of fillings can be used in Danish pastries?
Danish pastries can be filled with a variety of fillings such as cream cheese, fruit preserves, or almond paste, depending on your preference.
How should I store leftover Danish pastries?
Store leftover Danish pastries in an airtight container at room temperature for up to two days, or refrigerate for up to a week. You can also reheat them in the oven for a few minutes to regain some freshness.
Conclusion
The Strawberry Danish is a delightful treat that combines a buttery, flaky pastry with the sweet and tangy flavor of fresh strawberries. It’s perfect for breakfast, brunch, or as a sweet snack. Once you’ve mastered this classic recipe, you’ll be inspired to experiment with different fillings and toppings.
More recipes suggestions and combination
Mixed Berry Danish
Replace the strawberries with a mix of raspberries, blueberries, and blackberries for a colorful and fruity variation.
Chocolate Hazelnut Danish
Spread chocolate hazelnut spread over the pastry base and top with chopped hazelnuts for a rich and indulgent treat.
Cream Cheese Danish
Add a sweetened cream cheese filling to the center of the pastry before baking for a creamy and decadent experience.
Lemon Curd Danish
Fill the pastry with homemade lemon curd for a zesty and refreshing twist that brightens any breakfast table.
Peach Danish
Use fresh peach slices or peach preserves for a summery flavor profile that’s perfect for warm weather gatherings.
Apple Cinnamon Danish
Combine sautéed apples with cinnamon and brown sugar for a comforting dessert that’s delightful any time of year.